
Adorable Pastel Candy Button Cookies: The Perfect Easter Treat 🐰🍪🎨
1. Introduction
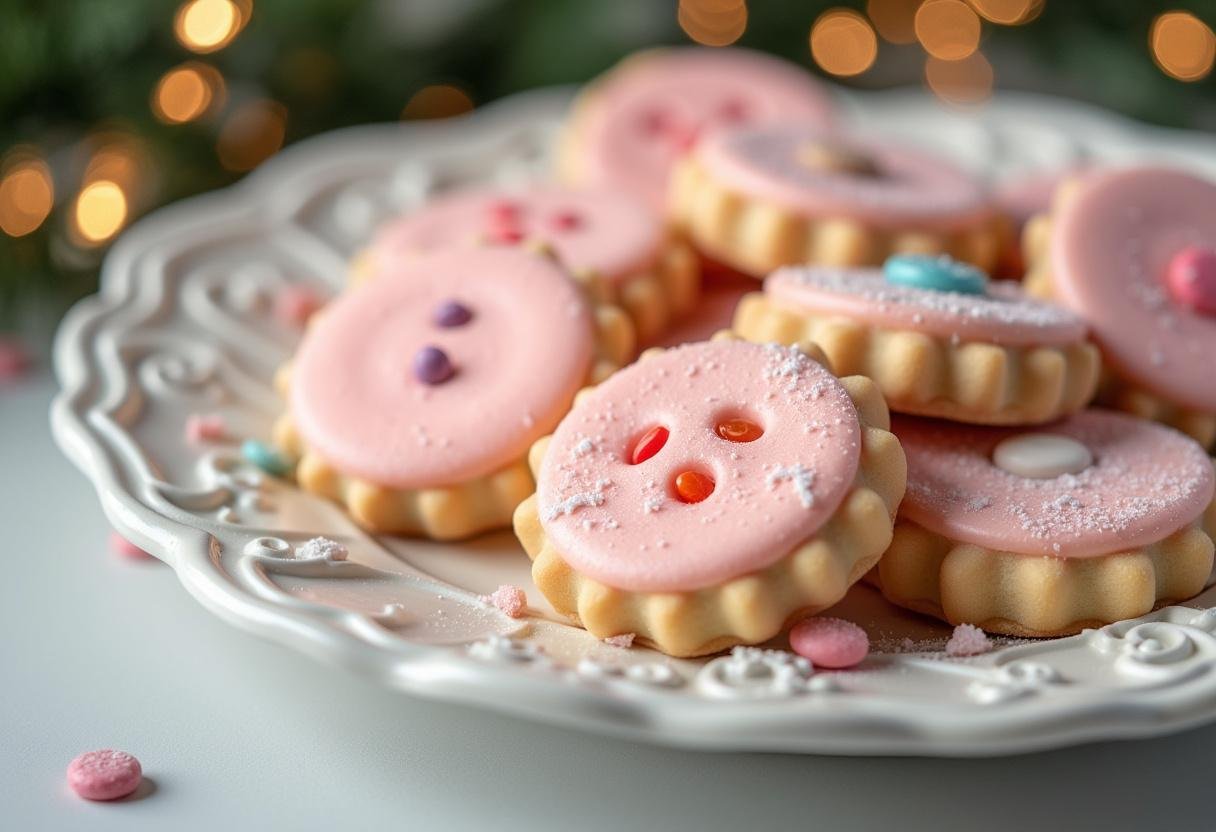
Easter is a time filled with joy, vibrant celebrations, and undeniably, delectable treats! What could be a more fitting way to embrace the spirit of Easter than with these utterly adorable and vibrantly colorful cookies? These Pastel Candy Button Cookies are not just a recipe; they’re an experience, perfect for adding a touch of sweetness to any Easter gathering. Simple enough for novice bakers, visually stunning, and possessing an irresistible charm, these cookies are bound to be a favorite. Whether you’re embarking on a baking adventure with your kids or simply seeking a sweet treat to share with your loved ones, these Easter cookies with candy buttons are guaranteed to bring smiles. So, prepare yourself to infuse your Easter celebrations with a burst of color and delightful flavors with this easy-to-follow recipe! If you are looking for more recipes, click here.
2. What Makes These Cookies Special?
These aren’t just your run-of-the-mill cookies; they’re Adorable button cookies specially crafted to inject a dose of whimsy into your holiday baking traditions. Imagine sinking your teeth into a soft, chewy cookie base, perfectly contrasted by the delightful crunch of colorful candy buttons – a textural symphony in every bite. The soft pastel hues not only capture the essence of Easter but also add an aesthetic appeal that is hard to resist. Moreover, the recipe’s simplicity ensures that bakers of all skill levels can partake in the fun, turning baking into an enjoyable and accessible activity. What’s more, these cookies are incredibly versatile. You’re welcome to use your tried-and-true cookie dough recipe or get creative by swapping out the candy buttons for other festive sprinkles to match your Easter theme! If you are a cookies fan, explore more here.
3. Ingredients You’ll Need
Before you embark on this delightful baking journey, ensure you have all the necessary ingredients at your fingertips. Here’s what you’ll need:
- 2 1/4 cups all-purpose flour
- 1 teaspoon baking soda
- 1 teaspoon salt
- 1 cup (2 sticks) unsalted butter, softened
- 3/4 cup granulated sugar
- 3/4 cup packed brown sugar
- 1 teaspoon vanilla extract
- 2 large eggs
- Pastel candy buttons
For optimal results, it’s crucial that your butter is softened to facilitate easy creaming. Don’t underestimate the importance of vanilla extract; its inclusion significantly elevates the overall flavor profile of these divine Pastel Candy Button Cookies. By ensuring that all your ingredients are meticulously measured and readily available, you’ll streamline the baking process and create a seamless, enjoyable culinary experience. Consider making these cookies with other breakfast recipes as well, find more recipes here.
4. Step-by-Step Guide to Baking Your Cookies
Embark on this baking adventure with our simple, step-by-step guide, and you’ll be creating your own batch of adorable Pastel Candy Button Cookies in no time!
Step 1: Prepare the Dough
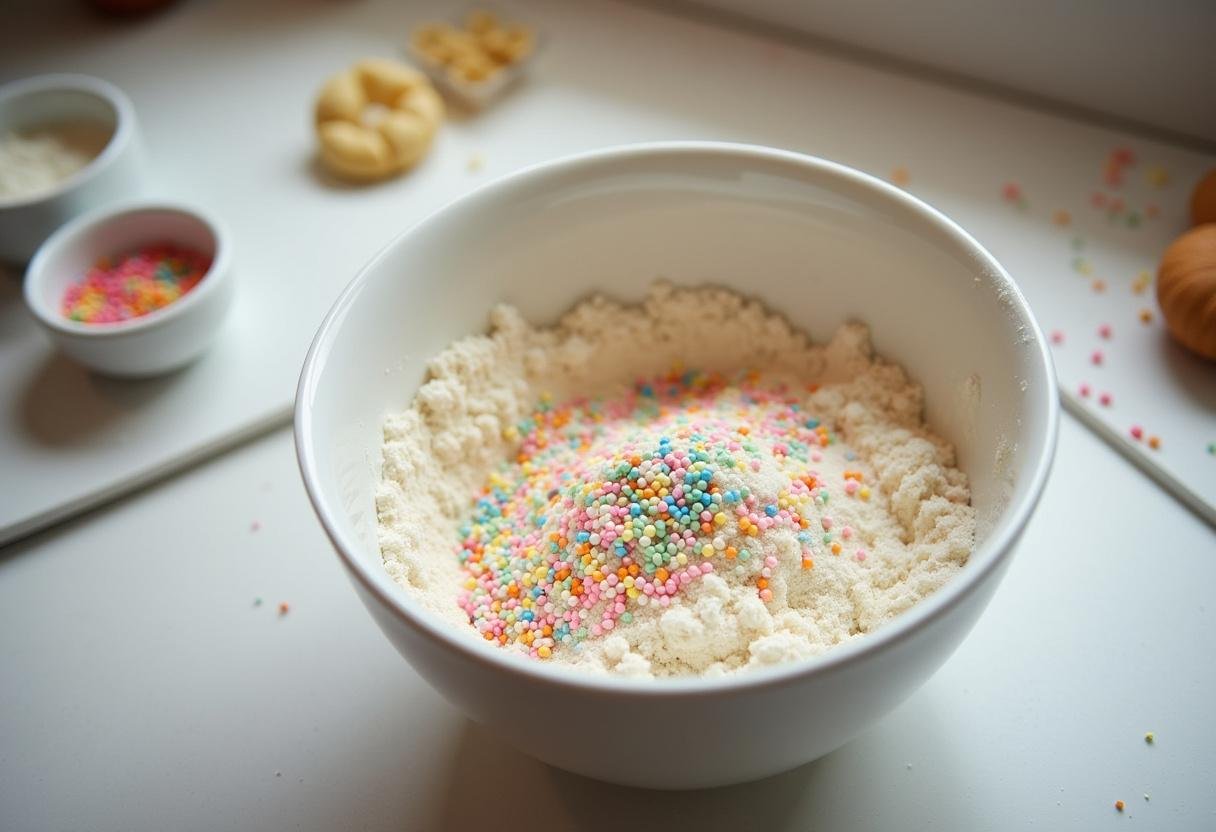
Begin by grabbing a medium-sized bowl. In it, whisk together the flour, baking soda, and salt until they’re perfectly combined. Next, in a larger bowl, cream together the softened butter, granulated sugar, and brown sugar. This step is crucial – continue creaming until the mixture is light and fluffy, ensuring your cookies have that melt-in-your-mouth texture. Beat in the vanilla extract, followed by the eggs, one at a time, making sure to mix well after each addition. Now, gradually introduce the dry ingredients to the wet ingredients, mixing until just combined. Remember, the key to tender cookies is to avoid overmixing the dough. For a similar delicious recipe, check out these Sweet and Tangy Glazed Apple Cider Fritter Bites!
Step 2: Chill the Dough
Once your dough is ready, wrap it snugly in plastic wrap and place it in the refrigerator to chill for a minimum of 30 minutes. This step is not just a suggestion; it’s essential! Chilling the dough prevents the cookies from spreading excessively during baking, ensuring they maintain their delightful shape. Furthermore, chilling enhances the overall flavor profile, allowing the ingredients to meld together harmoniously. If you’re planning ahead, feel free to chill the dough for up to 24 hours. This allows for a more flexible baking schedule and intensifies the flavors even further! Craving another sweet treat? Why not try these Homemade Biscoff Doughnuts while you wait?

Step 3: Shape and Decorate
Now that your dough has had its chilly spa day, it’s time to preheat your oven to a cozy 375°F (190°C). While the oven warms up, line your baking sheets with parchment paper. This will prevent sticking and make cleanup a breeze. Next, roll the chilled dough into adorable 1-inch balls and place them on the prepared baking sheets, making sure to leave a little breathing room between each ball. Here comes the fun part – gently press the pastel candy buttons into the top of each cookie dough ball. Unleash your inner artist! Get creative with the arrangement of the candies, making each cookie a unique masterpiece. Each cookie can tell its own little Easter story. If you enjoy decorating your food, you might also appreciate these Easter Bunny Button Cookies from Lord Byron’s Kitchen!

Step 4: Bake to Perfection
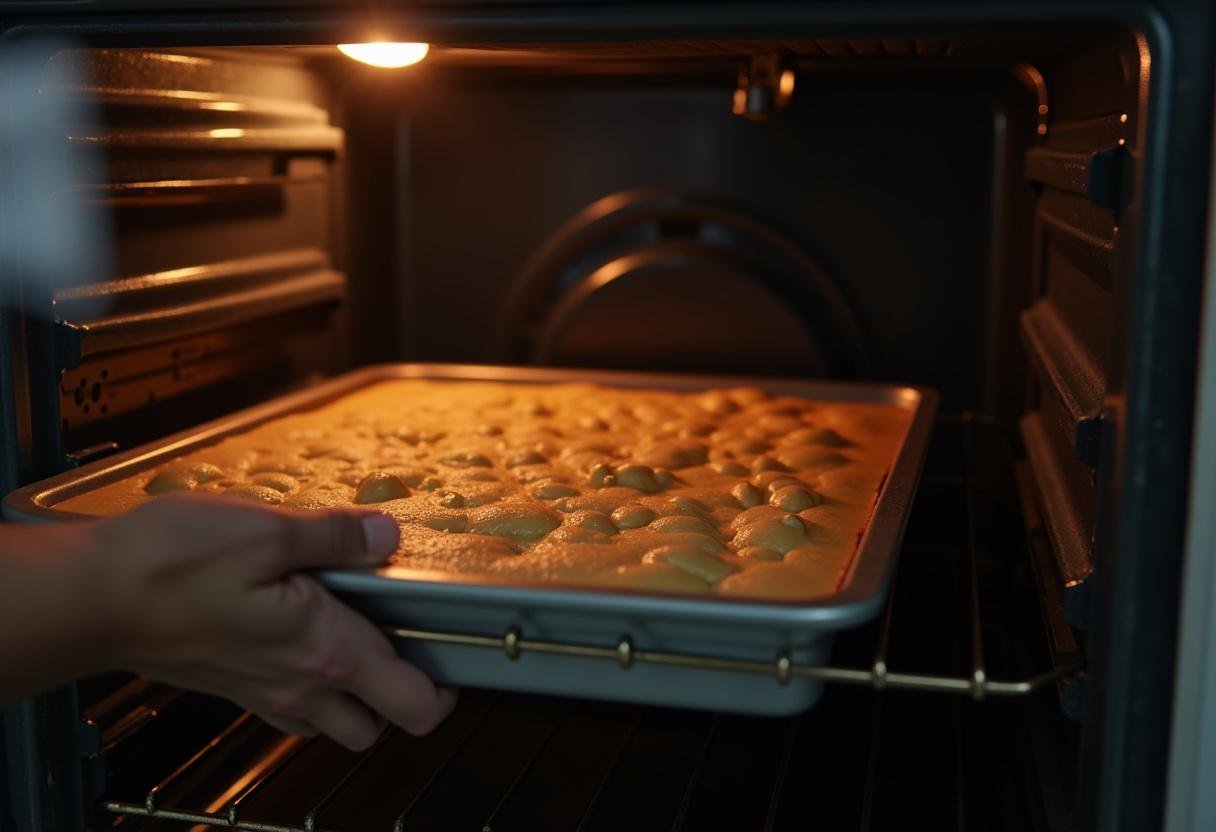
Carefully place the baking sheets into the preheated oven and bake these delightful Easter cookies with candy buttons for approximately 8-10 minutes. Keep a vigilant eye on them; you’re looking for the edges to turn a delicate golden brown – a telltale sign of perfection. Over-baking is the enemy here, so don’t let them linger too long! Once they’re ready, remove the baking sheets from the oven and allow the cookies to cool slightly on the sheets for a few minutes before transferring them to a wire rack to cool completely. As they cool, the cookies will firm up, and the candy buttons will set, creating a delightful treat that’s as pleasing to the eye as it is to the palate. Or maybe you’d be in the mood for Crispy Glazed Apple Cider Fritter Bitesinstead?
5. Tips for the Best Cookies
- Opt for high-quality butter to infuse your cookies with a richer, more indulgent flavor.
- Resist the urge to overmix the dough; this prevents the cookies from becoming tough and ensures a tender crumb.
- Always chill the dough thoroughly before baking to maintain the cookies’ shape and prevent excessive spreading.
- When arranging the cookies on the baking sheet, space them evenly to promote uniform baking and prevent them from sticking together.
- Allow the cookies to cool completely before storing them. This prevents moisture buildup and helps maintain their delightful texture.
By paying attention to these simple yet crucial tips, you’ll be well on your way to baking the most delicious and utterly adorable Pastel Candy Button Cookies, impressing friends and family alike!
6. Variations and Creative Twists
Feeling adventurous? Want to put your own unique stamp on these already delightful colorful candy button cookies? Here are a few creative ideas to get you started:
- Infuse a burst of citrusy brightness by adding lemon or orange zest to the dough. The subtle zest will complement the sweetness of the candy buttons perfectly.
- Swap out the classic vanilla extract for almond extract for a delightful nutty twist. The almond extract adds a layer of warmth and complexity to the cookies.
- Let your imagination run wild and use different types of candy or sprinkles to match your specific theme or celebration. From heart-shaped sprinkles for Valentine’s Day to spooky Halloween candies, the possibilities are endless! You can also check other sweet treats if you click here.
- Elevate the cookies with an extra touch of indulgence by drizzling melted white chocolate over the cooled cookies. The white chocolate adds a creamy sweetness that complements the pastel colors beautifully.
These variations offer a fantastic opportunity to customize the Adorable button cookies recipe to perfectly suit your preferences and create a truly unforgettable treat that reflects your personal style.
7. Perfect Occasions to Serve These Cookies
While these cheerful Pastel Candy Button Cookies shine brightest during Easter celebrations, their versatility extends far beyond. They’re also a delightful addition to:
- Liven up birthday parties with their colorful charm and irresistible sweetness.
- Add a touch of sweetness to baby showers, creating a memorable and celebratory atmosphere. Consider pairing them with the equally delightful Irresistible Biscoff Doughnuts.
- Elevate spring picnics with their portability and crowd-pleasing appeal.
- Brighten up any celebration where you want to infuse a sense of joy, sweetness, and vibrant color.
Their cheerful appearance and undeniably delicious taste make them a guaranteed crowd-pleaser, perfect for spreading smiles at any event. If you want to read more about us, click here.
8. Storing Your Cookies
To preserve the delightful freshness of your Pastel Candy Button Cookies, store them in an airtight container at room temperature. When stored properly, they’ll maintain their deliciousness for up to 5 days. If you wish to extend their shelf life, you can freeze them for up to 2 months. Before freezing, ensure that the cookies are completely cooled to prevent any moisture buildup. When you’re ready to enjoy them, simply thaw them at room temperature, and they’ll be as good as new!
9. Conclusion
These Pastel Candy Button Cookies transcend the realm of mere treats; they embody the spirit of Easter, encapsulating joy and adding a touch of magic to any occasion. Their vibrant colors, undeniably adorable appearance, and exquisite taste will undoubtedly captivate everyone who has the pleasure of indulging in them. So, gather your ingredients, preheat your oven, and prepare to embark on a delightful baking adventure, creating a batch of these irresistible Easter cookies with candy buttons. Happy baking, and may your Easter be filled with sweetness and joy! And don’t forget to visit our home page for more sweet inspiration!
Print
Adorable Pastel Candy Button Cookies – The Perfect Easter Cookies
Adorable Pastel Candy Button Cookies are the perfect treat for Easter celebrations. These colorful and delightful cookies feature a soft and chewy texture combined with crunchy pastel candy buttons, making them a whimsical addition to any holiday gathering.
- Total Time: 45 minutes
- Yield: 24 cookies
Ingredients
- 2 1/4 cups all-purpose flour
- 1 teaspoon baking soda
- 1 teaspoon salt
- 1 cup (2 sticks) unsalted butter, softened
- 3/4 cup granulated sugar
- 3/4 cup packed brown sugar
- 1 teaspoon vanilla extract
- 2 large eggs
- Pastel candy buttons
Instructions
- In a medium bowl, whisk together flour, baking soda, and salt. In a large bowl, cream together softened butter, granulated sugar, and brown sugar until light and fluffy. Beat in vanilla extract and then the eggs, one at a time, mixing well after each addition.
- Gradually add the dry ingredients to the wet ingredients, mixing until just combined. Wrap the cookie dough in plastic wrap and chill in the refrigerator for at least 30 minutes.
- Preheat your oven to 375°F (190°C). Line baking sheets with parchment paper. Roll the chilled dough into 1-inch balls and place them on the prepared baking sheets, leaving some space in between.
- Press the pastel candy buttons into the top of each cookie dough ball. Bake for 8-10 minutes or until the edges are lightly golden brown. Allow the cookies to cool on the sheets briefly before transferring them to a wire rack.
Notes
- Use high-quality butter for a richer flavor.
- Don’t overmix the dough to avoid tough cookies.
- Chill the dough thoroughly before baking.
- Space cookies evenly on the baking sheet for uniform baking.
- Let cookies cool completely before storing to maintain texture.
- Prep Time: 15 minutes
- Cook Time: 10 minutes
- Category: Dessert
- Method: Baking
- Cuisine: American
- Diet: Vegetarian
Nutrition
- Serving Size: 1 cookie
- Calories: 150 Kcal
- Sugar: 10g
- Sodium: 75mg
- Fat: 7g
- Saturated Fat: 4g
- Unsaturated Fat: 3g
- Trans Fat: 0g
- Carbohydrates: 20g
- Fiber: 0g
- Protein: 2g
- Cholesterol: 20mg

[…] enjoying your favorite foods while maintaining a healthy and balanced diet. Check out our delicious Easter Cookies for a lighter […]