
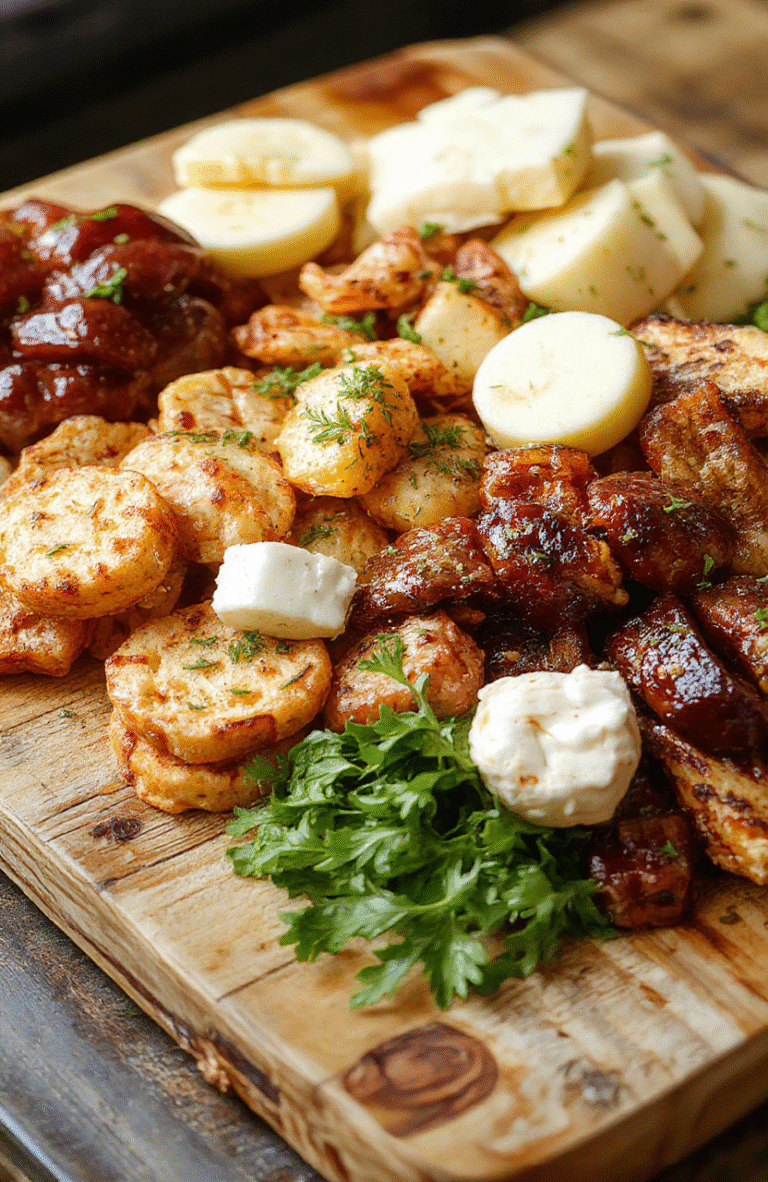
✨ The Beginner Charcuterie Board: A No-Fuss Party Appetizer That steal the show (Without the Stress!) ✨
1. Introduction
Let’s be real: when you’re hosting, the pressure of looking “put-together” can be stressful—especially when it comes to appetizers. Enter the no-fuss charcuterie board. This elegant, crowd-pleasing spread needs zero cooking skills, minimal prep time, and delivers maximum impact. Whether it’s for a last-minute get-together, a birthday brunch, or game-day snacking, a beautiful beginner charcuterie board feels like a procreation—yet takes under 20 minutes to assemble.
I’ll admit, my first attempt looked more like a “snack explosion” than an artful display. But with a few smart rules (and a few pantry staples), you can confidently build a board that looks Instagram-worthy and tastes absolutely divine. Think crisp crackers, rich cured meats, sweet fruit, tangy cheeses, and just a hint of savory crunch. The best part? It’s your board—no rules, just joy.
2. Why You’ll Love This Recipe
- Zero cooking required—just slice, arrange, and serve.
- Ready in under 20 minutes—even faster than ordering takeout!
- Fully customizable—swap in your family’s favorite picks or accommodate dietary needs effortlessly.
- Perfect for any crowd—from picky kids to gourmet foodies.
- Great for entertaining on a budget—buy in bulk, store wisely, and repurpose leftovers.
3. Ingredient Notes
The magic of a no-fuss charcuterie board lies in balance: texture, salt, sweetness, and acidity. Here’s how to pick the best with confidence:
Cheeses (aim for 3 types):
• Soft (e.g., brie or goat cheese log): Creamy and luxurious—slice the rind off brie for cleaner bites.
• Semi-hard (e.g., aged cheddar or gouda): Rich and bold—try smoked gouda for depth.
• Hard (e.g., manchego or parmesan): Salty and satisfying—grate or chip large pieces for visual contrast.
• Pro tip: Let cheeses come to room temp for 20–30 minutes before serving—they’ll shine in flavor!
Meats:
• Choose 2–3 varieties: prosciutto (delicate & salty), salami (bold & spicy), and mild Genoa or capicola.
• Fold or卷 them for texture (try rolling prosciutto or fanning salami slices).
Fruits & Sweet Accents:
• Fresh: grapes (whole or halved), sliced figs, apple or pear coins.
• Dried: mango, apricots, or dates for chewy sweetness.
• Jams: Fig jam or spicy peach preserves act as both spread and edible glue for crackers.
Crunchy Elements:
• Crackers: Choose 2–3 textures—water crackers for neutrality, seeded for crunch, gluten-free if needed.
• Nuts: Marcona almonds, candied walnuts, or pistachios add salinity and crunch. Skip roasted & salted if your meats are already bold.
Optional but highly recommended:
• Olives or cornichons for briny brightness (small jars prevent lid wars!).
• A drizzle of honey over brie? Yes, please.
• Fresh herbs like rosemary sprigs or microgreens for color.
4. Kitchen Tools You Need
You don’t need fancy tools—but having the right ones makes the beginner charcuterie board process seamless and delightful:
• Compact 6-in-1 Digital Air Fryer by Amazon Basics: Perfect for quickly toasting nuts or reheating artisan breads for your board—no oven preheat required.
• T-fal 14-Piece Hard Anodized Nonstick Cookware Set: A solid kit if you want to whip up simple sides (like roasted garlic or honey-drizzled sausages) to include on your board.
• Ninja Foodi Smart XL Indoor Grill & Air Fryer Combo: Use the “Air Crisp” function to warm boards faster than the oven—great for game day prep.
• Breville Nespresso Vertuo Creatista Espresso & Coffee Maker: Pair your board with a sophisticated espresso or latte to elevate the experience.
• KitchenAid Artisan 5-Quart Stand Mixer in Scorched Orange: Whip up homemade marbled brownie bites or mini crostini toppers while you prep your board—perfect for pairing with your Ultimate Moist Chocolate Banana Bread.
• A large wooden board or marble slab (affordable at most home goods stores)—the more rustic, the better!
• Small ramekins or mini dishes for condiments (jams, olives, nuts)—they keep things contained and tidy.
5. How to Make the Beginner Charcuterie Board
Phase 1: Pre-Assembly (10 minutes)
Start by placing your cheeses on the board—don’t slice yet. Instead, lay whole wedges or logs with butter knives or cheese slicers ready nearby. Wipe the board clean before you begin.
Add your small bowls for jams, mustards, or olives. Place them strategically—not too close together—to avoid overflow. Keep your meats and crackers nearby in their original packaging or on a tray so they’re within reach.
Phase 2: Placing the Big Shapes (5 minutes)
Begin with the largest items first:
• Place cheeses at different points—top, bottom, and center of the board.
• Lay out meats in clusters or rolls near their cheese pairings (e.g., prosciutto beside brie).
• Fan out crackers in a curve or pile them in a small mound—it gives height contrast.
Phase 3: Fill with Fruits, Nuts & Extras (3 minutes)
Pile grapes in a loose mound beside hard cheeses. Dot dollops of jam or honey between cheeses. Scatter nuts and dried fruit in open spaces. Fill any gaps with olives, pickles, or fresh herbs.
• Rule of thumb: Leave “breathing room” between items. A crowded board feels messy; intentional spacing invites the eye.
Phase 4: Final Flair & Serving (2 minutes)
Drizzle honey over soft cheese, add a final herb sprig, and place small serving spoons near jam and nut bowls. Label items with cute chalk cards or small flags if hosting a crowd.
6. Expert Tips for Success
Here’s what separates a “meh” board from a “wow” one:
• Clean your board between uses: Wood boards can harbor flavors—wash with warm water and mild soap, scrub with baking soda paste if needed, and air dry completely before reusing.
• Use odd numbers: 3 types of cheese, 5 types of fruit—our brains love symmetry and rhythm. Even numbers can look “off” on a board.
• Balance temperatures: Cold meats + cold cheeses = muted flavor. Let cheeses sit at room temp for 20+ minutes before serving.
• Work from the center outward: Start with anchors (cheeses, bowls), then layer outward with meats, fruits, and fillers.
• Prep ahead: Slice apples and pears just before serving to avoid browning. Grate hard cheese in advance and store in fridge. Keep nuts in airtight containers for crunchy freshness.
• Small utensils = big hospitality: Use separate spoons per item to prevent flavor blending (especially important for jams and olives).
7. Variations & Substitutions
Need a vegan board? Gluten-free? Or just looking for fun flavor twists? Here’s how to adapt easily:
• Vegan Charcuterie: Swap cheeses for almond-based ricotta, cashew brie, and vegan cheddar. Add marinated artichoke hearts, roasted red peppers, and vegan meats (like Yau Ma Tei’s soy-based options).
• Gluten-Free Friendly: Skip crackers—use cucumber rounds, endive leaves,or gluten-free crisps (try Greenleaf’s brand).
• Spicy Twist: Add jalapeño jelly, pepper jack cheese, and chili-spiced nuts.
• Sweet-Only Board: Think chocolate-dipped strawberries, cream cheese balls piped into edible flowers, mini danishes, and honeycomb. Pair with sliced baguette or biscotti.
• Low-Sodium Option: Choose fresh meats (not cured), mild cheeses like fresh mozzarella, and unsalted nuts.
8. Storage & Reheating
Charcuterie boards are best enjoyed fresh—but here’s how to save leftovers or prep ahead:
• Storage: Remove meats and cheeses from the board and store separately in airtight containers. Fruits and crackers lose crunch once exposed. Consume meats within 3 days, cheese within 5.
• Reheating: Unlike hot apps (like sweet & spicy honey pepper chicken), charcuterie doesn’t reheat well. Best served cold or room temp.
• Make-Ahead: Assemble 1–2 hours before guests arrive. Cover loosely with parchment + a clean kitchen towel while waiting to serve.
9. FAQ
How much food do I need for 10 guests?
Plan for 2–3 oz of cheese and 1–2 oz of meat per person. For a 10-person party, that’s ~1.5–2 lbs cheese + ~1–1.5 lbs meat total. Add crackers (50–60 total) and 1–2 cups fruit/nuts.
Can I make a charcuterie board the night before?
Yes! Prep fruit (except apples/pears), assemble cheeses and meats on a tray (not board), cover, and refrigerate overnight. Transfer to your serving board 30–60 minutes before guests arrive to let flavors bloom.
What if I’m on a budget?
Pick one expensive item (like a fancy cheese), and balance with affordable staples: store-brand crackers, grapes (in season), and seasonal fruit. You can even make your own honey-roasted walnuts—cheap and impressive!
How do I keep crackers from getting soggy?
Place them in a separate basket or bowl on the table, not on the board. If stacking directly on the board, do it LAST and only do it right before guests arrive. Use thick, sturdy crackers like cream crackers or seeded crisps.
10. Conclusion
The beginner charcuterie board is less about perfection and more about presence. It’s your chance to pause, celebrate the company, and make gathering feel special—without spending hours in the kitchen. With just a few high-quality staples, some clever spacing, and a sprinkle of confidence, you’ll打造出 a spread that’s both beautiful and delicious.
Ready to pair it with a main? Try our Dump-and-Go Smothered Pork Chops for dinner or Easy Buffalo Chicken Sliders for an upgrade. For more crowd-pleasing apps, don’t miss our Best Super Bowl Appetizers round-up!
Now grab your board, pour a glass of wine, and savor the ease. You’ve earned it. 🍷🧀✨ Print
Beginner Charcuterie Board: No-Fuss Party Appetizer
A simple, no-fuss charcuterie board perfect for last-minute entertaining. No cooking required—justassemble with store-bought items for a stunning, crowd-pleasing appetizer.
- Total Time: 15 minutes
- Yield: 6–8 servings
Ingredients
- 1 large round board or slate platter
- 4 oz Assorted cured meats (e.g., prosciutto, salami, chorizo)
- 4 oz Soft cheese (e.g., brie or goat cheese)
- 4 oz Hard cheese (e.g., aged cheddar or manchego)
- 1 cup Green grapes, halved
- ½ cup Mixed dried fruits (e.g., apricots, figs)
- ¼ cup Mixed nuts (e.g., almonds, walnuts)
- 2 tbsp honey
- ½ cup cornichons or pickles
- 12–16 Crackers or sliced baguette
Instructions
- Arrange meats in small piles or roll into nests on one side of the board.
- Place cheeses in separate sections—slice soft cheese into wedges, grate hard cheese if desired.
- Fill small bowls or pile directly onto board: grapes, dried fruits, nuts, and pickles.
- Drizzle honey over soft cheese or into a small ramekin for dipping.
- Add crackers or bread around the edges for easy access.
- Serve immediately or refrigerate until 30 minutes before serving.
Notes
- For dietary flexibility: use vegan cheeses, seed-based meats (e.g., plant-based prosciutto), or omit animal products.
- Label allergens (e.g., nuts, gluten) if serving a diverse group.
- Prep Time: 15 minutes
- Cook Time: 0 minutes
- Method: Assembly
- Cuisine: American
- Diet: None
Nutrition
- Serving Size: 1 serving (of 8)
- Calories: 310 Kcal
- Sugar: 12g
- Sodium: 520mg
- Fat: 22g
- Saturated Fat: 9g
- Unsaturated Fat: 11g
- Trans Fat: 0.2g
- Carbohydrates: 18g
- Fiber: 2g
- Protein: 14g
- Cholesterol: 45mg
