
© Original Recipe By Sweets & Wonders ©
🔥 Cheesy Garlic Parmesan Bombs for Easy Dinner Perfection 🍽️🧄🧀
1. Introduction
If you’re craving a cheesy, savory, and irresistibly flavorful appetizer or side, then these garlic parmesan bombs are just what you need. They’re golden, crispy on the outside, and bursting with cheesy garlic flavor in every bite. Perfect for dinner or entertaining guests, these cheesy garlic bread-inspired bites are quick to make and guaranteed to impress. Combining the richness of parmesan with the aromatic punch of garlic, these cheesy garlic rolls are a must-try for any cheese lover.
2. Why You’ll Love This Recipe
- Ready in 30 minutes — perfect for busy weeknights.
- One-pan and simple to prepare, minimizing cleanup.
- Versatile: serve as an appetizer, snack, or side dish.
- Deliciously crispy exterior with gooey cheesy goodness inside.
- Uses pantry staples with optional variations for dietary needs.
3. Ingredient Notes
This recipe leans on high-quality ingredients for maximum flavor. A good nonstick cookware set ensures easy assembly and crisping. Fresh garlic events a vibrant aroma, so opt for plump garlic cloves rather than pre-minced options — they truly make a difference. Parmesan cheese need not be generic; choose a sharp, aged parm for a nutty depth. The dough is a forgiving base, but for the utmost fluffiness, you might consider a touch of stand mixer to knead it effortlessly. Use freshly chopped parsley or basil for a pop of color and freshness, and don’t skimp on butter — it’s essential for that crispy, buttery crust that makes these bombs addictive.
4. Kitchen Tools You Need
Making perfect garlic parmesan bombs is a breeze with the right tools. Consider investing in the Compact 6-in-1 Digital Air Fryer for quick baking that yields crisp results with less oil. A Ninja Foodi Smart XL Indoor Grill & Air Fryer Combo offers versatile cooking options. For mixing and kneading your dough, the KitchenAid Artisan Stand Mixer makes the process effortless, ensuring even development of gluten for tender and airy results. These appliances streamline your cooking process, helping you produce bakery-quality cheesy garlic bombs in no time.
5. How to Make Cheesy Garlic Parmesan Bombs
Prepare the Dough
Start by mixing warm milk, sugar, and yeast until frothy. This signals active yeast ready to work its magic. Add flour, salt, and melted butter, then knead until the dough is smooth and elastic — it should feel soft but not sticky. Cover and let rise for 30 minutes in a warm spot until doubled in size. The aroma of yeast and warm dough will fill your kitchen, promising delicious results ahead.
Make the Filling
Meanwhile, combine minced garlic, grated parmesan, and chopped fresh herbs with softened butter. This luscious mixture will be brushed over the rolls later, adding irresistible flavor and a golden-crispy finish.
Shape the Bombs
Punch down the risen dough and divide into equal portions. Roll each into a small ball, then flatten slightly. Place a spoonful of garlic parmesan filling inside, sealing the edges carefully. Arrange them on a baking sheet lined with parchment. The anticipation builds as they begin to take shape — plump, cheesy, aromatic pockets ready to bake.
Bake and Serve
Bake in a preheated oven at 375°F (190°C) for about 15 minutes, or until golden brown and crispy. As they come out, brush with melted butter and garnish with parsley for a fresh finish. The smell alone will make your mouth water, and the crispy exterior with the cheesy interior is pure comfort on a plate.
6. Expert Tips for Success
- Ensure your yeast is fresh for a good rise. Check the expiry date on your yeast packet and proof it with warm water and sugar before mixing.
- Don’t overfill the bombs — too much filling can cause them to burst open during baking. Use a small spoon or measuring scoop for consistency.
- For extra crispness, brush the tops with garlic butter before baking and consider baking on a wire rack for even airflow.
- If you prefer a softer bread, cover the bombs with a damp towel immediately after baking to keep them moist.
7. Variations & Substitutions
- Vegan option: Use dairy-free butter and vegan cheese shreds. Adjust seasonings to taste.
- Herb twist: Add roasted red pepper, sautéed spinach, or sun-dried tomatoes inside for extra flavor.
- Gluten-free: Substitute regular flour with a trusted gluten-free blend for a different dietary approach.
8. Storage & Reheating
Leftover cheesy garlic bombs can be stored in an airtight container in the refrigerator for up to 2 days. To reheat, use an air fryer for a quick reheating that restores crispiness, or warm in a 350°F (175°C) oven for 10 minutes until heated through. They are best enjoyed fresh, but these tips help maintain their flavor and texture for a second go-round.
9. FAQ
Q: Can I prepare these garlic parmesan bombs ahead of time?
A: Yes, you can assemble the bombs in advance, cover them tightly, and store in the refrigerator. Bake straight from the fridge, adding an extra 3-5 minutes to the baking time.
Q: What dipping sauces pair well with these cheesy garlic rolls?
A: They taste fantastic with marinara, ranch, or a spicy aioli. You can also serve them plain to savor the cheesy garlic flavor.
Q: Are they suitable for a low-carb diet?
A: Traditional dough isn’t low-carb, but you can experiment with cauliflower or keto bread dough for a tasty, lower-carb version.
10. Conclusion
In summary, these garlic parmesan bombs effortlessly combine cheesy, garlicky goodness with a crispy crust, making them ideal for a cozy dinner or lively gathering. The simple steps and high-quality ingredients ensure a crowd-pleasing dish packed with flavor. Give this recipe a try and enjoy warm, cheesy bites any time you crave comfort food with a sophisticated twist!
Print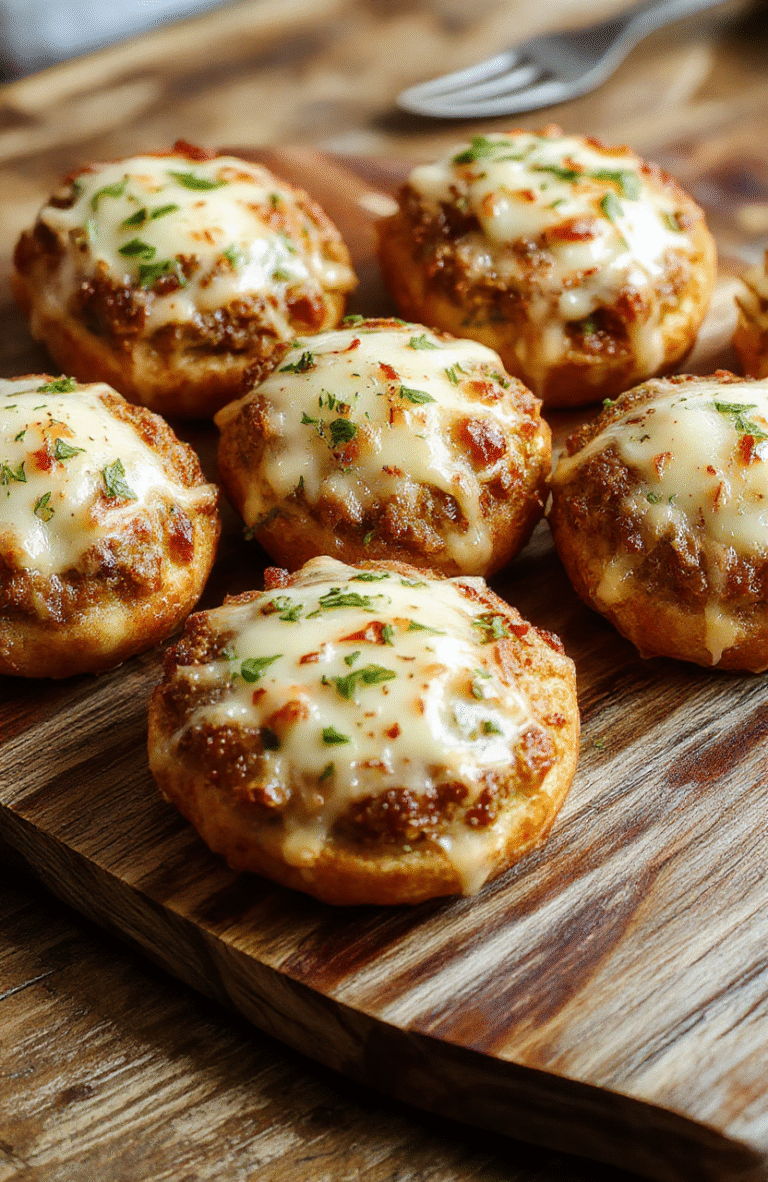
Cheesy Garlic Parmesan Bombs for Easy Dinner Perfection
Crave-worthy cheesy garlic parmesan bombs, soft on the inside with a crispy exterior, bursting with cheesy, garlicky flavor. These are perfect for an easy dinner or snack.
- Total Time: 25 minutes
- Yield: 12 bombs
Ingredients
- 1 store-bought or homemade pizza dough
- 1 cup shredded mozzarella cheese
- 1/2 cup grated parmesan cheese
- 4 cloves garlic, minced
- 2 tbsp fresh parsley, chopped
- 2 tbsp olive oil
- Salt and pepper to taste
Instructions
- Preheat oven to 400°F (200°C). Line a baking sheet with parchment paper.
- Divide pizza dough into 12 equal pieces and roll into balls.
- Mix minced garlic, olive oil, salt, and pepper. Brush the dough balls with the garlic oil.
- Spoon mozzarella and parmesan cheese into the center of each ball, then pinch to seal.
- Place seam-side down on the prepared baking sheet.
- Bake for 15-20 minutes until golden and bubbly.
- Sprinkle with chopped parsley before serving.
Notes
- You can add red pepper flakes for some heat.
- Great with marinara sauce for dipping.
- Use fresh garlic for a stronger flavor.
- Prep Time: 10 minutes
- Cook Time: 15 minutes
- Method: Baking
- Cuisine: Italian-American
- Diet: Vegetarian
Nutrition
- Serving Size: 1 bomb
- Calories: 180 Kcal
- Sugar: 1g
- Sodium: 290mg
- Fat: 10g
- Saturated Fat: 4g
- Unsaturated Fat: 5g
- Trans Fat: 0g
- Carbohydrates: 18g
- Fiber: 1g
- Protein: 8g
- Cholesterol: 25mg
