
Japanese-Style Fried Chicken Katsu – Crispy & Delicious: The Ultimate Crunchy Comfort Food 🍗✨🔥
1. Introduction
Japanese-Style Fried Chicken Katsu is a beloved dish that combines juicy chicken with an irresistibly crispy panko crust. This Japanese chicken katsu recipe delivers restaurant-quality results at home, perfect for weeknight dinners or special occasions. The contrast between the tender meat and crunchy coating makes this dish a true crowd-pleaser that will have everyone asking for seconds.
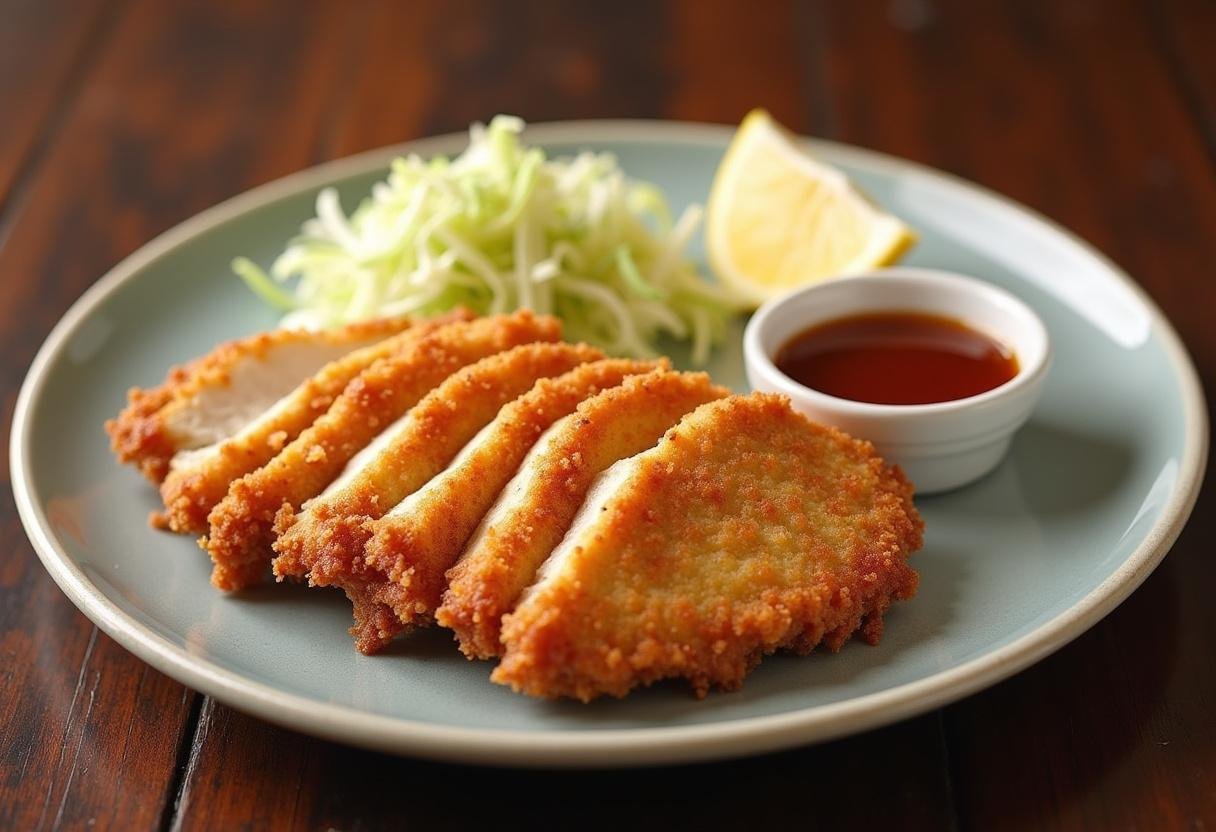
Unlike traditional fried chicken, Japanese chicken katsu uses panko breadcrumbs for extra crunch and lightness. The dish is typically served with shredded cabbage, rice, and tonkatsu sauce for a complete meal that’s both satisfying and balanced. If you love crispy textures, you might also enjoy our Lucky Charms Ice Cream Sundae for dessert – it offers a different but equally delightful crunch. Follow our step-by-step guide to master this Japanese chicken katsu recipe that will transport your taste buds straight to Tokyo!
2. Ingredients
Gathering the right ingredients is key to perfect Japanese chicken katsu. Here’s what you’ll need for this authentic recipe:
- 2 boneless, skinless chicken breasts (about 1 lb) – look for plump, evenly-sized breasts
- 1/2 teaspoon salt – sea salt or kosher salt works best
- 1/4 teaspoon black pepper – freshly ground for maximum flavor
- 1/2 cup all-purpose flour – for the initial coating
- 2 large eggs, beaten – helps the panko adhere perfectly
- 1 1/2 cups panko breadcrumbs – the secret to that signature crunch
- Vegetable oil for frying – about 1-2 cups depending on your pan
- Tonkatsu sauce for serving – available at Asian markets or make your own
- Shredded cabbage for serving – provides a refreshing contrast
- Lemon wedges (optional) – adds brightness to the rich flavors
For those who love Japanese flavors, you might also enjoy exploring our breakfast recipes section for more international inspiration to start your day.
3. Equipment Needed
Having the right tools makes preparing Japanese chicken katsu much easier:
- Meat mallet or rolling pin – essential for tenderizing the chicken
- Three shallow bowls for breading – keeps your workflow organized
- Heavy-bottomed skillet or deep fryer – ensures even heat distribution
- Paper towel-lined plate – for draining excess oil
- Wire rack (optional) – helps keep the katsu crispy all around
- Tongs or chopsticks for frying – gives you better control when flipping
- Thermometer (optional) – for checking oil temperature
4. Step-by-Step Instructions
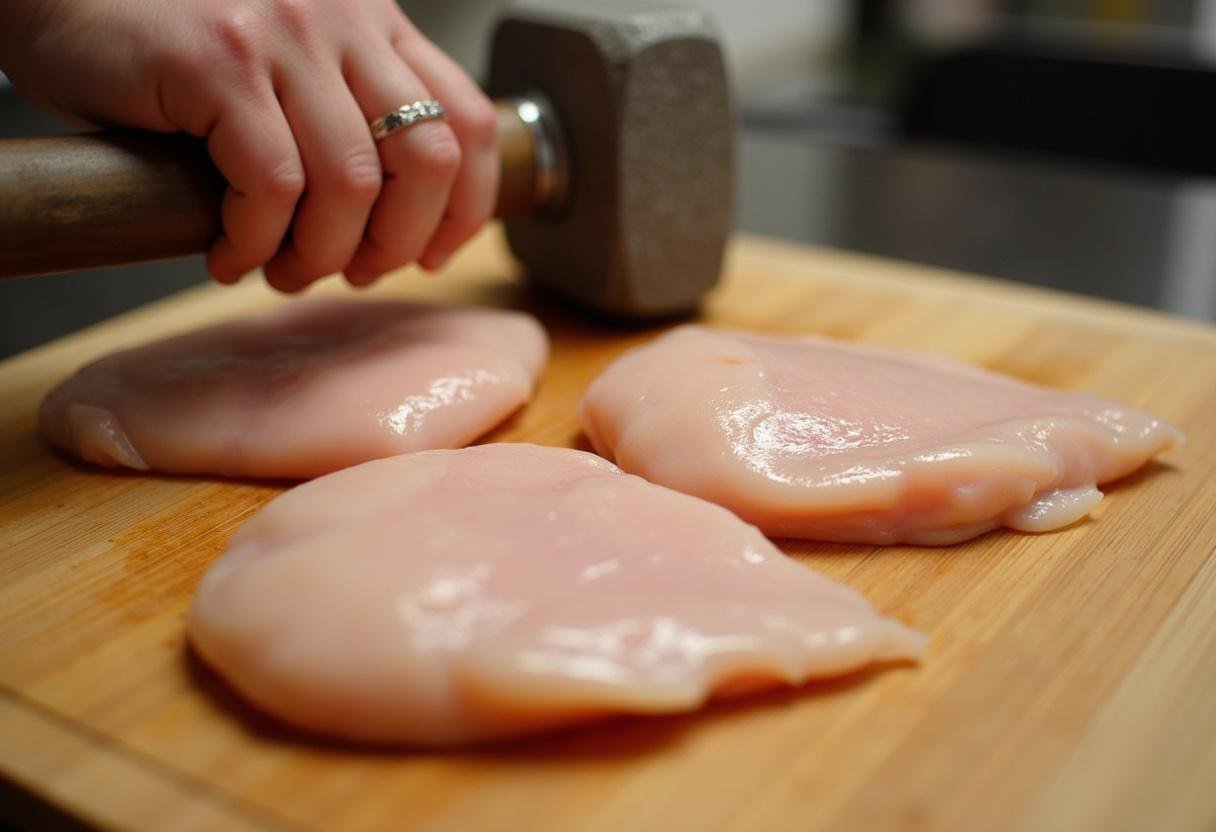
Step 1: Prepare the Chicken
Start by preparing your chicken breasts for this Japanese chicken katsu recipe. Place each breast between two pieces of plastic wrap or in a zip-top bag. Using a meat mallet or rolling pin, pound the chicken to an even 1/2-inch thickness. This ensures even cooking and tender results – no one wants overcooked edges with a raw center! Season both sides generously with salt and pepper, massaging the seasoning into the meat.
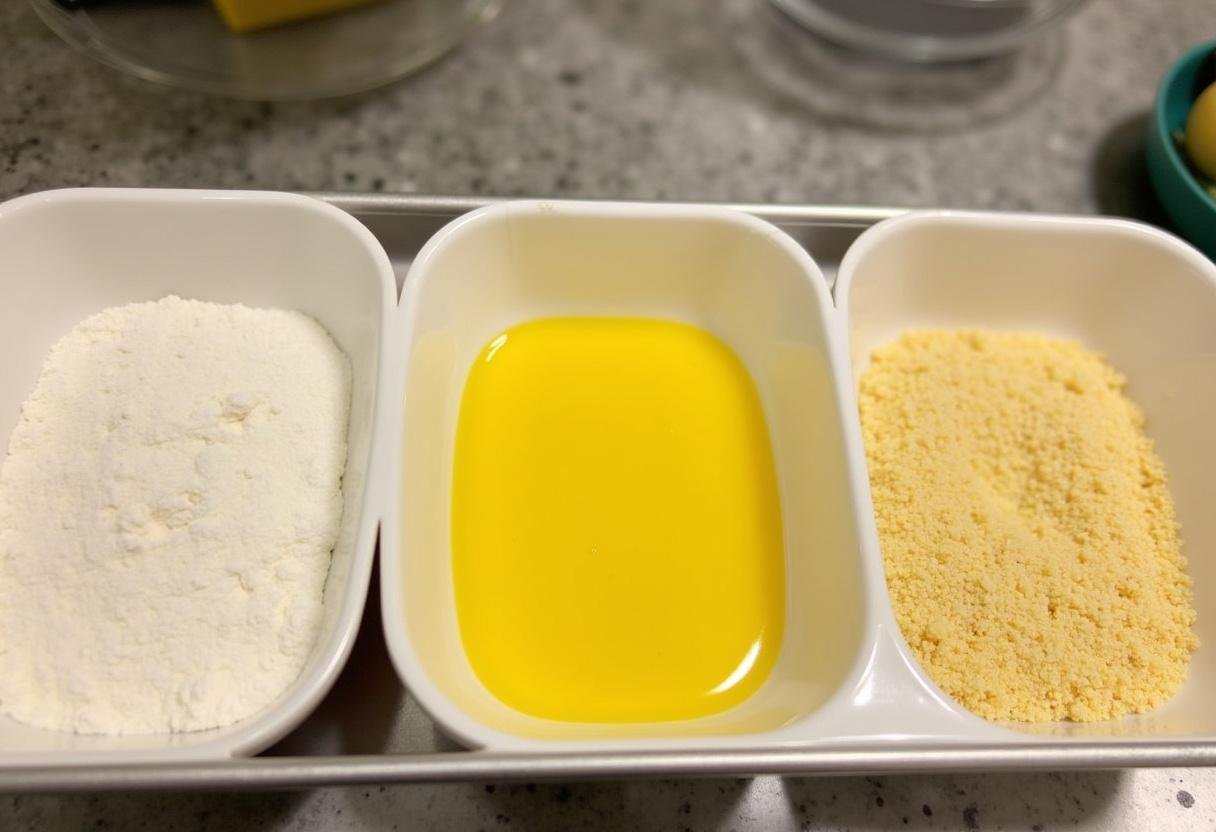
Step 2: Set Up Breading Station
For the perfect Japanese chicken katsu, set up an efficient breading station with three shallow bowls. Place flour in the first bowl, beaten eggs in the second (add a tablespoon of water to thin slightly), and panko breadcrumbs in the third. The panko is essential for achieving that signature light, crispy texture that makes this Japanese chicken katsu recipe special. For extra flavor, you can mix a teaspoon of garlic powder into the flour.
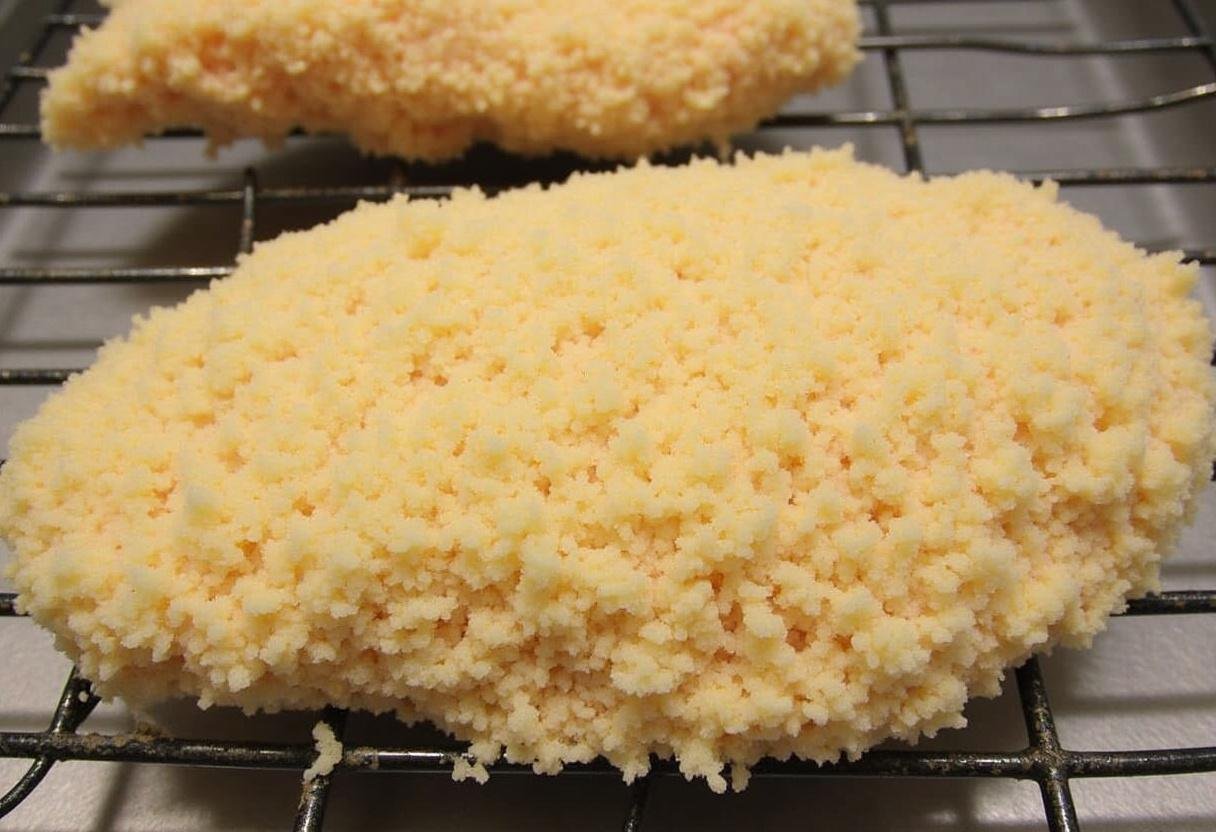
Step 3: Bread the Chicken
Dredge each chicken breast in flour, shaking off excess. Dip in egg, letting excess drip off (this prevents clumping), then press firmly into panko, coating completely. For extra crunch in your Japanese chicken katsu, you can double-coat by repeating the egg and panko steps – this creates an especially crispy exterior. Press gently but firmly to ensure breadcrumbs adhere well without crushing them. Let the breaded chicken rest for 5 minutes before frying to help the coating set.
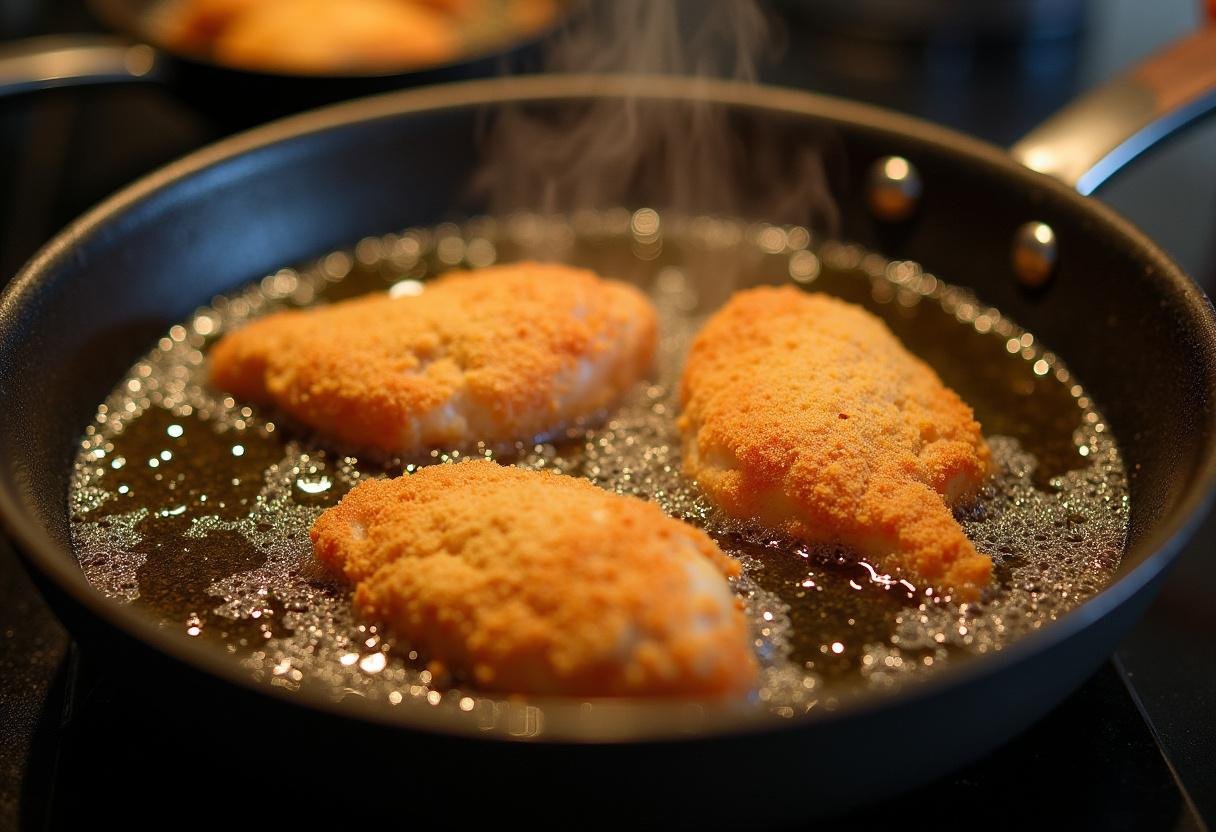
Step 4: Fry to Golden Perfection
Heat 1/2 inch of oil in a heavy skillet to 350°F (175°C) – a breadcrumb should sizzle when dropped in. Carefully add breaded chicken (don’t crowd the pan) and fry 3-4 minutes per side until golden brown and internal temperature reaches 165°F (74°C). For this Japanese chicken katsu recipe, maintaining oil temperature is crucial – adjust heat as needed. Drain on a wire rack over paper towels to keep all sides crispy. For more fried food inspiration, check out our Millionaire Brownies – they’re not fried but equally indulgent!
5. Serving Suggestions
Slice your Japanese chicken katsu into 1-inch strips and serve immediately with shredded cabbage, steamed rice, and tonkatsu sauce. The cabbage provides a refreshing crunch that balances the rich chicken – toss it with a light vinaigrette if desired. For an authentic touch, add a lemon wedge to brighten flavors. This Japanese chicken katsu recipe also pairs wonderfully with miso soup or a simple cucumber salad. Looking for side dish ideas? Our White Chocolate Cranberry Pecan Clusters make a great sweet contrast if serving this as part of a larger meal.
6. Cooking Tips
- Use fresh panko for maximum crispiness in your Japanese chicken katsu – stale breadcrumbs won’t achieve the same texture
- Let breaded chicken rest 5 minutes before frying for better adhesion – this prevents the coating from falling off
- Maintain oil temperature between 340-360°F – too low makes greasy katsu, too high burns the coating before the chicken cooks through
- For extra crispy Japanese chicken katsu, toast panko lightly in a dry pan before breading – this enhances its crunch
- Try air frying for a lighter version (spray with oil first) at 400°F for about 12 minutes, flipping halfway
- Pat chicken dry before breading – moisture prevents the coating from sticking properly
7. Variations
This versatile Japanese chicken katsu recipe can be adapted in many delicious ways:
- Pork Katsu (Tonkatsu) – substitute pork cutlets (the original version of this dish)
- Chicken Katsu Curry – serve with rich Japanese curry sauce over rice
- Katsu Sando – make a sandwich with soft white bread, shredded cabbage, and tonkatsu sauce
- Spicy Katsu – add cayenne to flour or mix sriracha into the egg wash
- Gluten-Free – use GF flour and gluten-free panko breadcrumbs
- Katsu Don – serve over rice with a sweet-savory egg topping
For more recipe variation ideas, explore our snack recipes section where we transform simple ingredients into exciting dishes.
8. Storage and Reheating
Store leftover Japanese chicken katsu in an airtight container in the refrigerator for up to 3 days. To reheat, place on a wire rack in a 350°F (175°C) oven for 10-15 minutes until crispy and heated through – this method preserves the texture better than microwaving. For freezing, place cooled katsu in a single layer on a baking sheet to freeze solid before transferring to freezer bags – this prevents sticking. Reheat frozen katsu directly in a 375°F oven for 15-20 minutes. While you’re thinking about storage, our Easter Crack recipe has great tips for keeping treats fresh too!
9. Conclusion
Mastering this Japanese chicken katsu recipe will give you a delicious, crispy dish that’s sure to become a family favorite. The combination of juicy chicken and crunchy panko coating is simply irresistible – it’s comfort food with an elegant twist. Whether you’re new to Japanese cuisine or a longtime fan, this Japanese-Style Fried Chicken Katsu delivers authentic flavors and textures right in your own kitchen. For more international inspiration, check out this classic Chicken Katsu recipe from AllRecipes. Don’t forget the tonkatsu sauce – it’s the perfect tangy complement to the rich, fried goodness. Serve with our Melt-in-Your-Mouth Butterbeer Cookies for a complete Japanese-inspired meal with a sweet finish. Happy cooking!
Print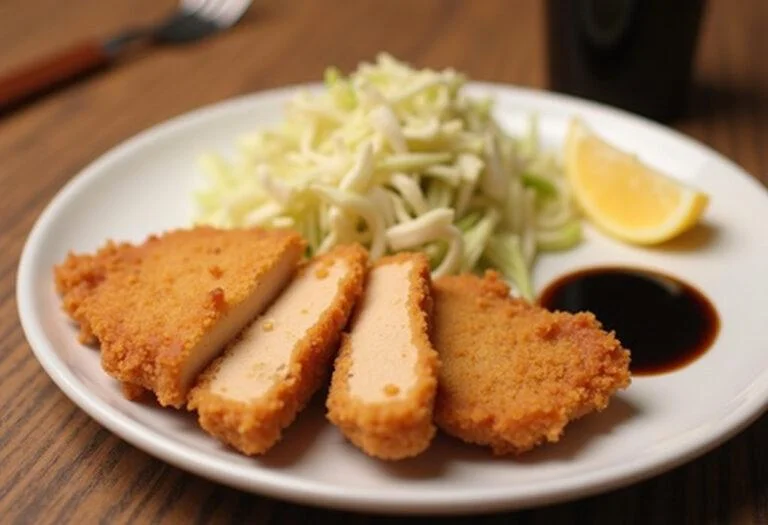
Japanese-Style Fried Chicken Katsu – Crispy & Delicious
Japanese-Style Fried Chicken Katsu is a beloved dish that combines juicy chicken with an irresistibly crispy panko crust. This Japanese chicken katsu recipe delivers restaurant-quality results at home, perfect for weeknight dinners or special occasions. The contrast between the tender meat and crunchy coating makes this dish a true crowd-pleaser. Unlike traditional fried chicken, Japanese chicken katsu uses panko breadcrumbs for extra crunch and lightness. The dish is typically served with shredded cabbage, rice, and tonkatsu sauce for a complete meal.
- Total Time: 23 minutes
- Yield: 2 servings
Ingredients
- 2 boneless, skinless chicken breasts (about 1 lb)
- 1/2 teaspoon salt
- 1/4 teaspoon black pepper
- 1/2 cup all-purpose flour
- 2 large eggs, beaten
- 1 1/2 cups panko breadcrumbs
- Vegetable oil for frying
- Tonkatsu sauce for serving
- Shredded cabbage for serving
- Lemon wedges (optional)
Instructions
- Prepare the chicken by pounding to 1/2-inch thickness and seasoning with salt and pepper
- Set up breading station with flour, beaten eggs, and panko breadcrumbs
- Dredge chicken in flour, dip in egg, then coat thoroughly with panko
- Heat oil to 350°F (175°C) and fry chicken 3-4 minutes per side until golden brown
- Drain on wire rack or paper towels
- Slice and serve with shredded cabbage, rice, and tonkatsu sauce
Notes
- Use fresh panko for maximum crispiness
- Let breaded chicken rest 5 minutes before frying for better adhesion
- Maintain oil temperature – too low makes greasy katsu, too high burns coating
- For extra crispy results, toast panko lightly before breading
- Try air frying for a lighter version (spray with oil first)
- Prep Time: 15 minutes
- Cook Time: 8 minutes
- Category: Main Dish
- Method: Frying
- Cuisine: Japanese
Nutrition
- Serving Size: 1 chicken breast
- Calories: 450 Kcal
- Sugar: 2g
- Sodium: 650mg
- Fat: 22g
- Saturated Fat: 4g
- Unsaturated Fat: 16g
- Trans Fat: 0g
- Carbohydrates: 30g
- Fiber: 2g
- Protein: 35g
- Cholesterol: 180mg
