
Mom’s Russian Tea Cookies: Melt-in-Your-Mouth Bliss with a Dusting of Magic ❄️☕🍪
1. Introduction
There’s something truly magical about Russian Tea Cookies – those delicate, buttery morsels that practically dissolve on your tongue with each heavenly bite. Also known as Snowball Cookies or Mexican Wedding Cookies, these powdered sugar-dusted treats have been warming hearts and delighting taste buds for generations. This cherished Russian tea cookies recipe comes straight from my mother’s kitchen, perfected over decades of holiday baking and family gatherings.
What makes these cookies so special is their perfect balance of rich, nutty flavors and melt-away texture. The combination of quality butter, finely chopped nuts, and that double dusting of powdered sugar creates a cookie that’s elegant in its simplicity yet unforgettable in taste. Whether you’re creating a holiday cookie platter, looking for the perfect accompaniment to your afternoon tea, or simply craving a homemade sweet treat, this recipe delivers perfection every time.

2. Ingredients
The beauty of this Russian tea cookies recipe lies in its simplicity, with each ingredient playing a crucial role in creating that signature texture and flavor. Here’s what you’ll need:
- 1 cup unsalted butter, softened – The foundation of these cookies, providing that rich, melt-in-your-mouth quality. For best results, use high-quality European-style butter if available.
- ½ cup powdered sugar, plus extra for dusting – The fine texture blends perfectly with butter, and the double dusting creates that iconic snowy appearance.
- 2 teaspoons vanilla extract – Adds depth of flavor. For an extra special touch, try using homemade vanilla extract or vanilla bean paste.
- 2 cups all-purpose flour – The structure of the cookie. For consistent results, fluff your flour before measuring.
- 1 cup finely chopped nuts – Walnuts or pecans are traditional, but almonds or hazelnuts make delicious variations. The nuts should be very finely chopped but not powdered.
- ¼ teaspoon salt – Just enough to balance the sweetness and enhance all the flavors.
For those interested in exploring more classic cookie recipes, check out this wonderful collection of tea cake variations that complement our Russian tea cookies perfectly.
3. Step-by-Step Instructions
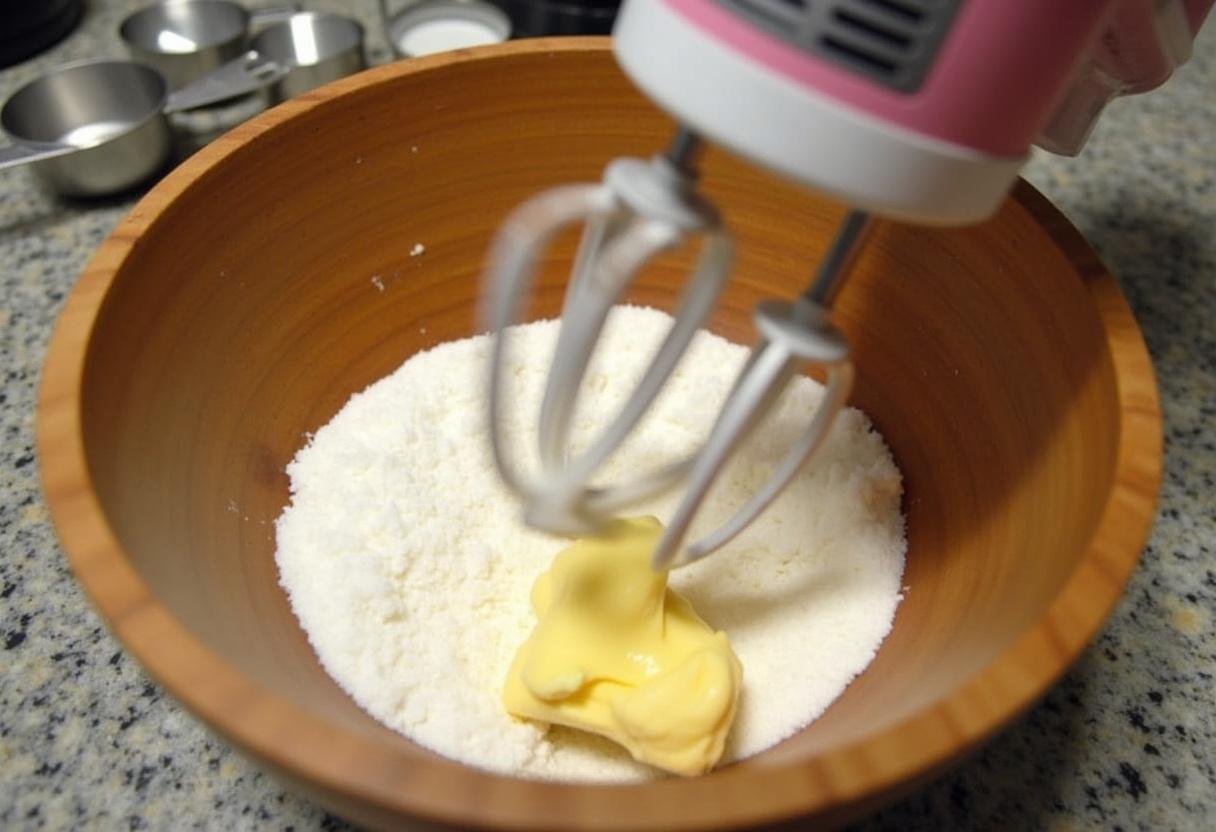
Step 1: Cream Butter and Sugar
Begin by ensuring your butter is properly softened – it should yield slightly when pressed but still hold its shape. In a large mixing bowl, beat the softened butter and powdered sugar together for 3-4 minutes until the mixture becomes light, fluffy, and almost white in color. This creaming process incorporates air into the dough, which is essential for achieving that delicate texture. Add the vanilla extract and mix until fully incorporated, scraping down the sides of the bowl as needed.
Pro Tip: If your kitchen is warm, consider chilling your mixing bowl for 15 minutes before starting to help maintain the perfect dough consistency.
Step 2: Add Dry Ingredients
In a separate bowl, whisk together the flour and salt to ensure even distribution. Gradually add the dry ingredients to the butter mixture, mixing on low speed just until combined. Overmixing at this stage can lead to tough cookies, so stop as soon as you no longer see streaks of flour.
Gently fold in the finely chopped nuts using a spatula. The nuts should be distributed evenly throughout the dough, with no large clumps. If the dough seems too soft to handle, you can refrigerate it for 15-20 minutes to firm up slightly.

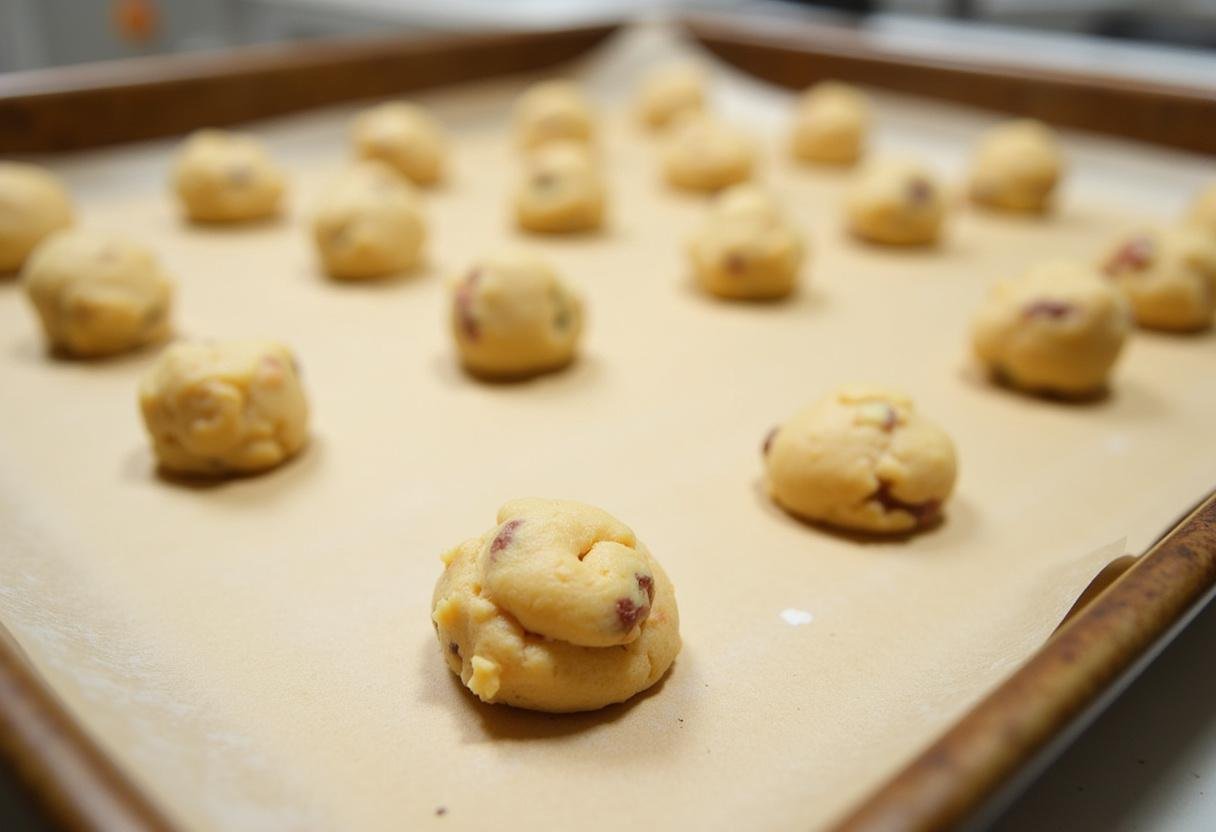
Step 3: Shape the Dough
Preheat your oven to 350°F (175°C) and line your baking sheets with parchment paper if desired (though these cookies bake beautifully on ungreased sheets too). Using a small cookie scoop or your hands, portion the dough into 1-inch balls, rolling them gently between your palms to create smooth spheres.
Space the dough balls about 1 inch apart on the baking sheet. Unlike some cookies that spread dramatically, these maintain much of their shape during baking, so you can place them relatively close together. For consistently sized cookies that bake evenly, consider weighing your dough portions – about 15 grams per cookie is ideal.
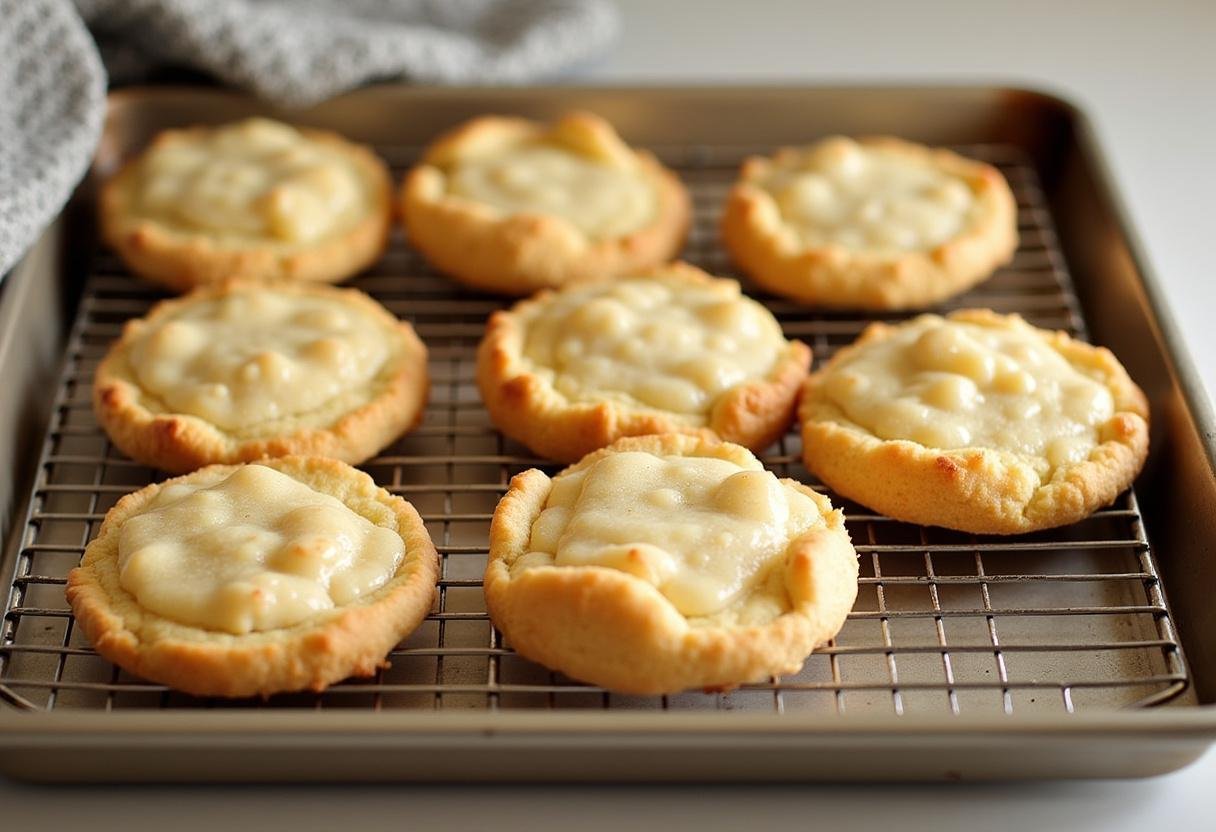
Step 4: Bake and Dust
Bake for 12-15 minutes, rotating the pans halfway through for even browning. The cookies are done when the bottoms are lightly golden and the tops look set but still pale. They’ll continue to firm up as they cool, so don’t wait for them to brown.
Let the cookies cool on the baking sheet for exactly 5 minutes – this allows them to firm up slightly but remain warm enough for the first sugar coating to adhere properly. Roll each cookie gently in a bowl of powdered sugar, then transfer to a wire rack to cool completely. Once cooled, give them a second generous dusting of powdered sugar for that classic snowy appearance.
4. Tips for Perfect Russian Tea Cookies
- Butter temperature matters: Room-temperature butter (about 65°F) creams best. Test by pressing your finger into the butter – it should leave an indentation but not sink all the way through.
- Nut preparation: Toast your nuts lightly before chopping to enhance their flavor. Cool completely before adding to the dough.
- Consistent sizing: Use a cookie scoop or tablespoon measure to ensure all your cookies are the same size for even baking.
- The double dusting secret: The first coating while warm creates a slightly melted sugar layer, while the second coating gives that fresh, snowy look.
- Storage solution: Place a sheet of parchment between layers when storing to prevent the powdered sugar from rubbing off.
5. Variations to Explore
While the classic Russian tea cookies recipe is perfection itself, here are some delicious variations to try:
- Chocolate-Dipped Delight: After the final dusting, dip half of each cookie in melted dark or white chocolate for an elegant presentation.
- Spiced Winter Version: Add ½ teaspoon cinnamon, ¼ teaspoon nutmeg, and a pinch of cardamom to the dry ingredients for a warmly spiced twist.
- Gluten-Free Adaptation: Substitute the all-purpose flour with a 1:1 gluten-free baking blend. Add ¼ teaspoon xanthan gum if your blend doesn’t include it.
- Citrus Zest: Add 1 tablespoon of finely grated orange or lemon zest to the butter mixture for a bright, fresh flavor.
- Nut Alternatives: Try pistachios, macadamias, or even toasted coconut for different flavor profiles.
6. Serving Suggestions
Russian tea cookies shine brightest when served with warm beverages. Their delicate sweetness pairs beautifully with:
- Earl Grey or Russian Caravan tea
- Spiced chai latte
- Dark roast coffee
- Hot chocolate with a cinnamon stick
- Mulled wine during the holidays
For special occasions, arrange them on a tiered dessert stand with other tea-time treats from MealsMom.com to create an impressive presentation. They also make lovely edible gifts when packaged in decorative tins or boxes tied with ribbon.
7. Storage Instructions
Proper storage ensures your Russian tea cookies maintain their perfect texture and appearance:
- Room temperature: Store in an airtight container with parchment between layers for up to 1 week.
- Freezing unbaked dough: Portion into balls and freeze on a baking sheet before transferring to a freezer bag. Bake directly from frozen, adding 1-2 minutes to the baking time.
- Freezing baked cookies: Freeze undusted cookies in an airtight container for up to 3 months. Thaw at room temperature and dust with powdered sugar before serving.
- Reviving stale cookies: If cookies lose their crispness, refresh them in a 300°F oven for 3-5 minutes, then re-dust with powdered sugar.
8. Frequently Asked Questions
Can I make these cookies without nuts?
While nuts are traditional, you can omit them for a nut-free version. The texture will be slightly different – consider adding an extra 2 tablespoons of flour to compensate.
Why do my cookies spread too much?
This usually happens if the butter was too soft or the dough wasn’t chilled before baking. Try refrigerating the shaped dough balls for 30 minutes before baking.
Can I use a stand mixer for this recipe?
Absolutely! A stand mixer makes the creaming process easier, but be careful not to overmix when adding the dry ingredients.
How do I prevent the powdered sugar from melting into the cookies?
Make sure the cookies are completely cool before the final dusting, and store them in a cool, dry place.
Can I make these cookies larger?
Yes, but increase the baking time by 2-3 minutes and be gentle when handling the larger, more delicate cookies.
9. Conclusion
This cherished Russian tea cookies recipe represents more than just a delicious treat – it’s a connection to baking traditions that span generations and cultures. With their delicate texture, rich buttery flavor, and snowy powdered sugar coating, these cookies have earned their place as a beloved classic in holiday baking and everyday indulgences alike.
Whether you’re continuing a family tradition or starting a new one, these cookies are sure to create sweet memories. Their simplicity belies their sophistication, making them equally appropriate for casual family gatherings and elegant holiday parties. As you master this recipe, don’t be afraid to put your own spin on it – perhaps one day you’ll be passing down your unique version to the next generation of bakers.
From my kitchen to yours, happy baking! May your Russian tea cookies bring as much joy to your home as they have to mine over the years.
