
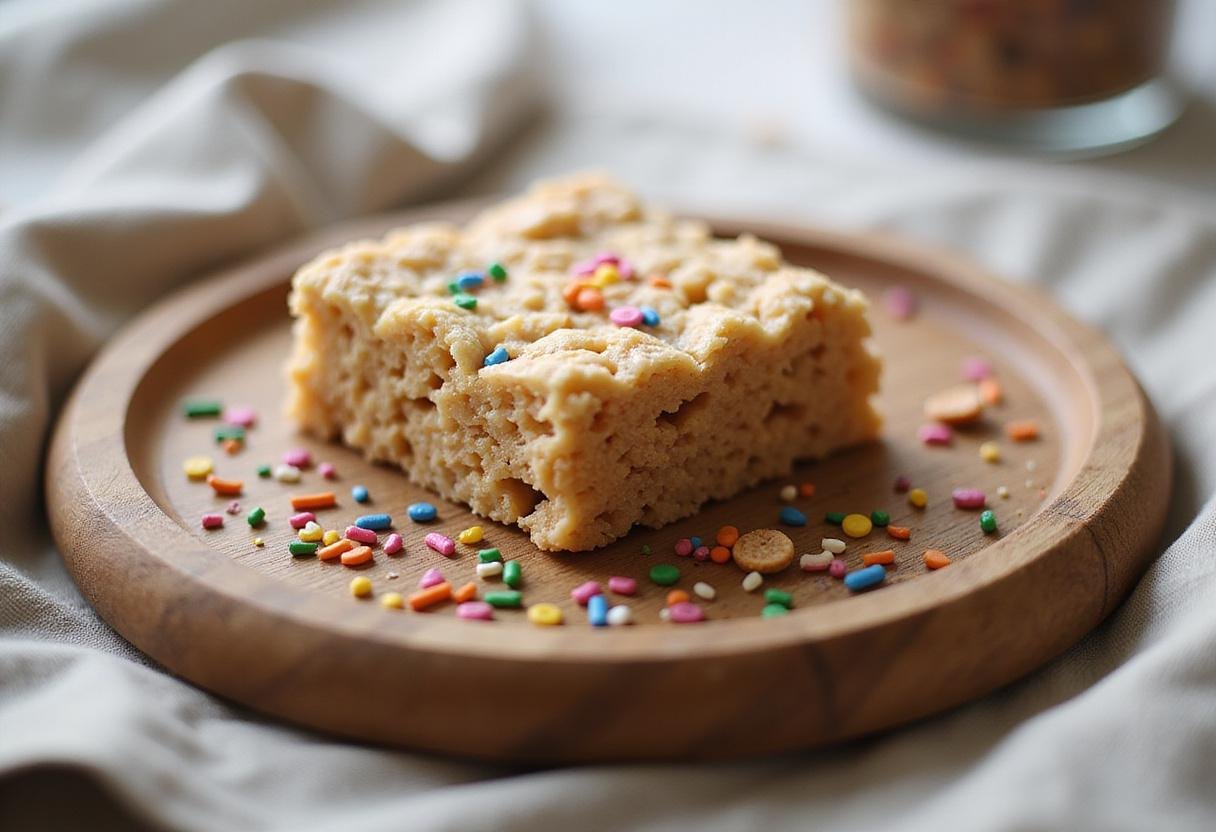
Original Rice Krispie Treats: A Classic, Chewy Delight 🍬✨🍚
1. Introduction
If you’re craving something sweet, chewy, and utterly delightful, look no further than the classic original Rice Krispie treats. These aren’t just treats; they are a nostalgic journey back to childhood, a simple pleasure that brings joy with every bite. These simple yet iconic treats are not only a hit with kids at birthday parties and school events but also a nostalgic favorite for adults who remember making them with their parents or grandparents. Made with just a handful of readily available ingredients, these treats require minimal effort and provide maximum satisfaction.
Whether you’re making them for a party, a school event, a quick dessert, or just a sweet snack at home after trying out other recipes, learning how to prepare original Rice Krispie treats is a must. They’re perfect for any occasion, from bake sales to casual family gatherings. Plus, you might wonder, can you freeze Rice Krispie treats? Absolutely! This means you can always have a batch on hand for unexpected guests or your own sweet cravings. Let’s dive into this delightful recipe and explore all the tips and tricks to make the perfect batch of original Rice Krispie treats!
2. Ingredients
To make the best original Rice Krispie treats, ensuring they are perfectly chewy and delicious, you will need the following simple ingredients. The beauty of this recipe lies in its simplicity, but using high-quality ingredients can make a noticeable difference:
- 3 tablespoons butter (unsalted or salted, depending on your preference; salted butter can add a nice contrast to the sweetness)
- 1 package (10 oz) of marshmallows (or 4 cups mini marshmallows) – fresh marshmallows melt more smoothly, resulting in a better texture
- 6 cups Rice Krispies cereal – ensure the cereal is fresh for the best crispy texture
- 1 teaspoon vanilla extract (optional) – a touch of vanilla can enhance the overall flavor, adding a warm, comforting note. You can find more snack ideas here.
3. Instructions
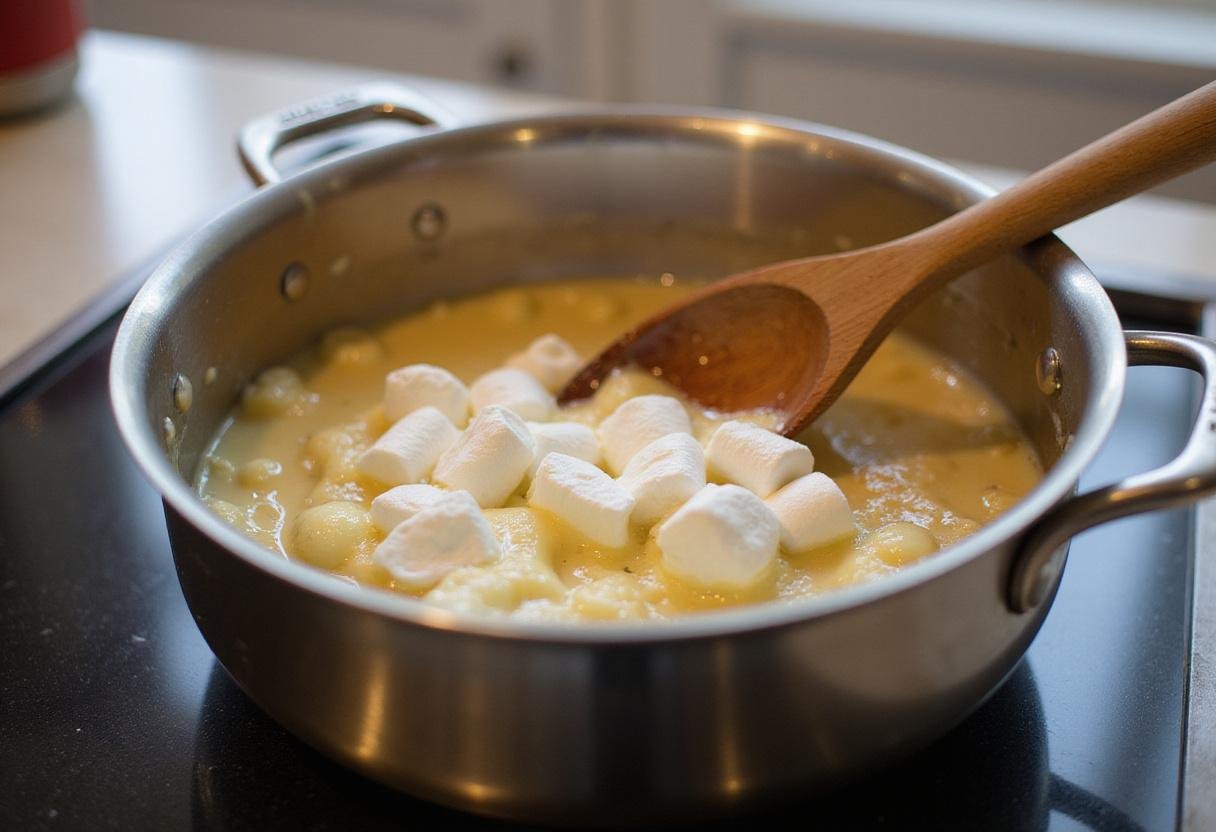
Step 1: Melt the Butter and Marshmallows
Start by melting the butter in a large, non-stick pot over low heat. This ensures the butter melts evenly without burning. Add the marshmallows to the pot once the butter is fully melted. Stir continuously with a silicone spatula until the marshmallows are smooth and completely melted. This step is crucial; avoid overheating the marshmallows, as this can make the treats hard. Slow and steady wins the race for perfectly melted marshmallows for your original Rice Krispie treats!
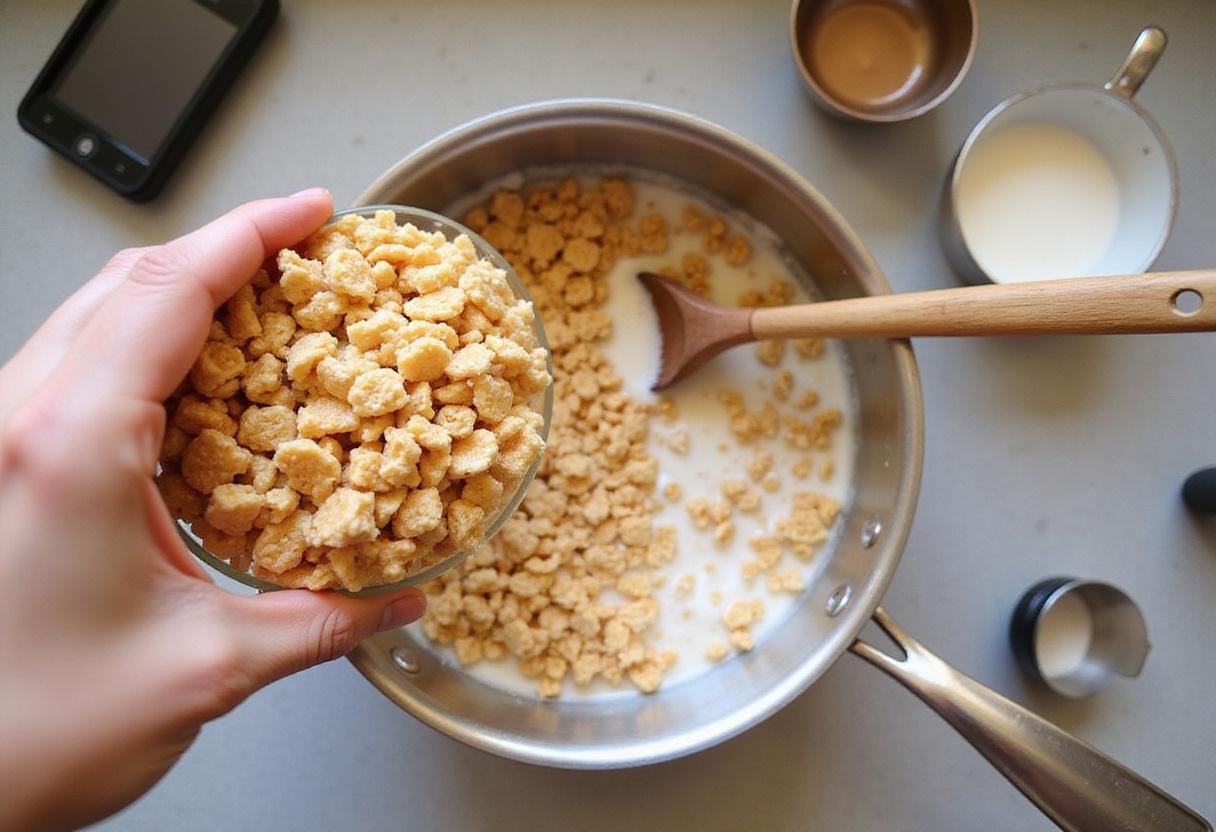
Step 2: Add the Rice Krispies
Once the marshmallow mixture is smooth, remove the pot from heat. This prevents the cereal from becoming soggy. Immediately add the Rice Krispies cereal. Stir the mixture until the cereal is evenly coated with the melted marshmallow. The faster you work, the better the texture will be, ensuring each piece of cereal is perfectly coated for that iconic original Rice Krispie treats crunch.
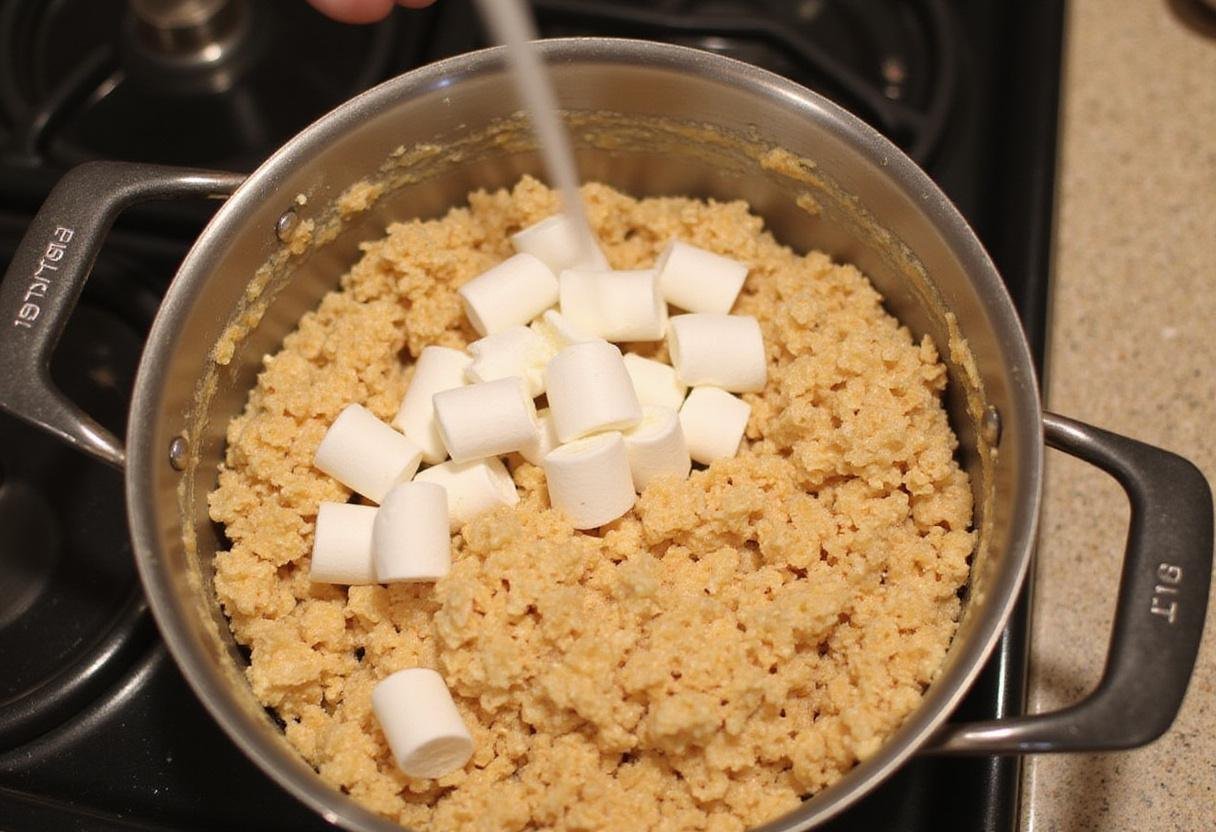
Step 3: Mix Until Combined
Continue to mix until all of the Rice Krispies are fully combined and generously coated with the gooey marshmallow fluff. Make sure not to leave any dry pieces of cereal; this ensures a consistent texture throughout. This is a crucial step in creating that perfect original Rice Krispie treats consistency! A well-mixed batter guarantees every bite is as good as the last. Maybe afterwards, you can try power peanut butter balls.
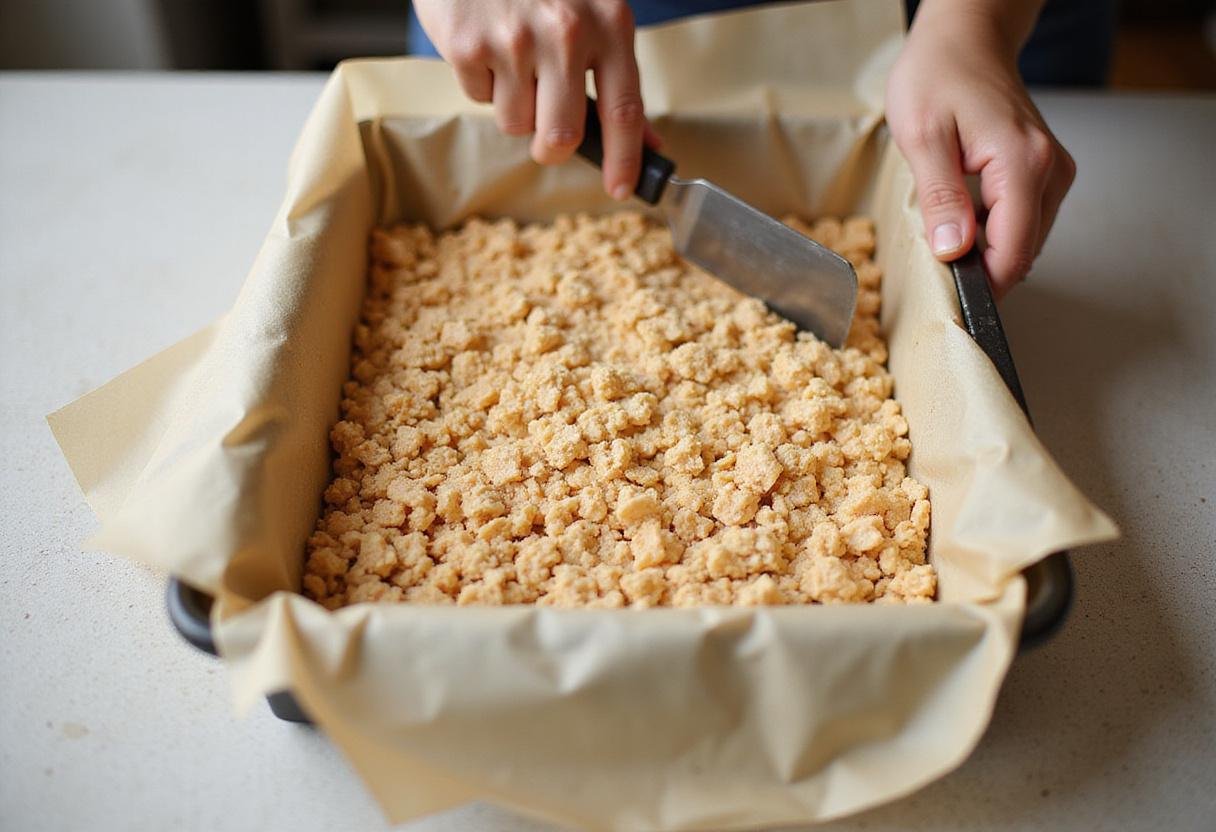
Step 4: Press the Mixture into a Baking Dish
Lightly grease a baking dish (9×13 inches works well) with butter or non-stick spray. This prevents the treats from sticking to the dish. Pour the Rice Krispie mixture into the dish, spreading it evenly. Use a spatula or your hands (lightly buttered or wetted) to press the mixture down firmly into the dish, ensuring it is compact. Pressing firmly helps the treats hold together. Don’t compress them too much, or they can become dense and hard. Aim for a firm but gentle press to maintain that perfect chewy texture of your original Rice Krispie treats.
4. Storage Tips
To keep your original Rice Krispie treats amazingly fresh and delicious, proper storage is key. Store them in an airtight container at room temperature. They will stay good for about two days (though they’re usually devoured much faster!). This prevents them from drying out and maintains their chewy texture. If you prefer to save them for later, you may be wondering, can you freeze Rice Krispie treats? Yes, you absolutely can! Wrap them individually or in small stacks tightly in plastic wrap (this prevents freezer burn), then place them in a freezer-safe container or a zip-top bag. They will last for up to six weeks in the freezer. Just let them thaw at room temperature for about 15-20 minutes before enjoying. Thawing them slowly helps retain their texture.
5. Serving Suggestions
These delightful original Rice Krispie treats can be served in a variety of fun and creative ways. They’re perfect as a quick snack, a simple dessert after trying something like salmon patties, or a delightful party favor. For an extra touch, consider adding chocolate drizzles (dark, milk, or white chocolate all work wonderfully), colorful sprinkles (perfect for holidays or celebrations), or even mixing in some peanut butter or Nutella for a richer, more decadent flavor. Cut them into fun shapes using cookie cutters for themed parties. Serve them with a glass of cold milk or a warm mug of hot cocoa for a comforting and satisfying treat. You can even crumble them over ice cream for an added crunch!
6. FAQs
Can you freeze Rice Krispie treats?
Yes, you can freeze Rice Krispie treats! For the best results, wrap them tightly in plastic wrap and keep them in a freezer-safe container. This helps prevent freezer burn and maintains their chewy texture.
How long do original Rice Krispie treats last?
When stored in an airtight container at room temperature, they typically last about two days. In the freezer, they can last for up to six weeks, making them a great make-ahead treat.
Can I use other cereals for Rice Krispie treats?
Certainly! While the classic version uses Rice Krispies, you can experiment with other cereals for variety. Cocoa Krispies add a chocolatey twist, while Fruity Pebbles bring a colorful and fruity flavor. Experiment and find your favorite!
How do I prevent my Rice Krispie treats from becoming too hard?
The key is to not overheat the marshmallows. Melt them slowly over low heat, and avoid over-compacting the mixture when pressing it into the baking dish. Also, ensure you are using fresh marshmallows, as older ones can result in a tougher texture.
Can I add other ingredients to my Rice Krispie treats?
Absolutely! Feel free to get creative and add other ingredients such as mini chocolate chips, chopped nuts, M&Ms, or even dried fruit. These additions can add extra flavor and texture to your treats.
7. Conclusion
Now that you know how to make original Rice Krispie treats, it’s time to create this beloved treat at home. This recipe is so easy. Why not share with friends after grabbing something from Vinny’s pizza. With its simple ingredients and easy preparation, you can enjoy these delightful snacks any time. Whether it’s a special occasion or just a treat for yourself, original Rice Krispie treats are always a hit! Plus, with the ability to freeze them, you can always have a batch ready to go.
8. Additional Tips
To enhance your original Rice Krispie treats, consider these additional tips: Use a silicone spatula to stir the marshmallow mixture; it prevents sticking and makes mixing easier. Lightly grease your hands with butter or cooking spray when pressing the mixture into the pan to prevent sticking. For a richer flavor, brown the butter slightly before adding the marshmallows. You can also add a pinch of salt to balance the sweetness. Get inspiration from this website. You can also use cookie cutters to shape them into fun designs for special events!
9. Share Your Experience!
Have you tried making original Rice Krispie treats? What are your favorite tips or variations? Share your experiences and ideas in the comments below! We’d love to hear how you make these classic treats your own. Happy snacking! 🎉🍴
Print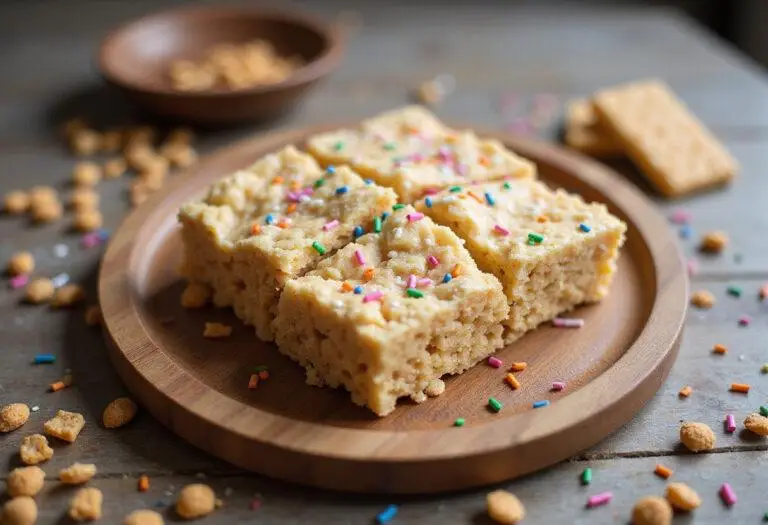
Original Rice Krispie Treats
Indulge in the classic chewy delight of Original Rice Krispie Treats. With just a few simple ingredients, these treats are perfect for any occasion, easy to make, and absolutely delicious. A nostalgic favorite that everyone will love!
- Total Time: 15 minutes
- Yield: 12 servings
Ingredients
- 3 tablespoons butter
- 1 package (10 oz) of marshmallows (or 4 cups mini marshmallows)
- 6 cups Rice Krispies cereal
- 1 teaspoon vanilla extract (optional)
Instructions
- Melt the butter in a large pot over low heat. Add marshmallows and stir until smooth.
- Remove from heat and mix in the Rice Krispies until evenly coated.
- Ensure no dry cereal remains by mixing thoroughly.
- Lightly grease a 9×13 inch baking dish and press the mixture firmly into it.
Notes
- Store in an airtight container at room temperature for up to 2 days.
- Rice Krispie Treats can be frozen for up to 6 weeks; wrap tightly for best results.
- Feel free to customize by adding chocolate drizzles or mixing in peanut butter.
- Prep Time: 10 minutes
- Cook Time: 5 minutes
- Category: Dessert
- Method: Stovetop
- Cuisine: American
- Diet: Vegetarian
Nutrition
- Serving Size: 1 square
- Calories: 90 Kcal
- Sugar: 9g
- Sodium: 45mg
- Fat: 3g
- Saturated Fat: 2g
- Unsaturated Fat: 1g
- Trans Fat: 0g
- Carbohydrates: 14g
- Fiber: 0g
- Protein: 1g
- Cholesterol: 10mg
