
Spooky & Sweet Vampire Fudge: Easy No-Bake Treat! 🧛♂️🍫✨
1. Introduction
If you’re searching for a fun and festive Halloween dessert, look no further than this Vampire Fudge recipe. Perfect for parties, spooky gatherings, or just indulging in some sweet, creepy comfort, this spooky fudge is irresistibly creamy and delightfully easy to prepare. Best of all, since it’s a no-bake treat, you can whip up this Halloween dessert in minutes without turning on the oven. Whether you’re a baking novice or a seasoned chef, this vampire fudge will add a chilling touch to your celebration!
2. Ingredients for the Vampire Fudge Recipe
- 2 cups of semi-sweet chocolate chips
- 1 cup sweetened condensed milk
- 1 teaspoon vanilla extract
- Red food coloring (for that spooky vampire effect)
- White chocolate chips (for vampire teeth or eyes)
- Black and red sprinkles (optional, for decoration)
- Candy eyes or small candies for vampire effects
3. How to Make This Spooky Fudge | Step-by-Step Instructions
Step 1: Prepare Your Pan
Line a Presto Pizzazz Plus Rotating Pizza Oven or a simple baking dish with parchment paper to prevent sticking. This will make it easier to remove the fudge once it’s set.
Step 2: Melt the Chocolate
Combine the semi-sweet chocolate chips and sweetened condensed milk in a microwave-safe bowl. Microwave in 30-second intervals, stirring between each, until smooth and glossy. Alternatively, melt in a double boiler for a more controlled process.
Step 3: Add Vanilla & Color
Stir in the vanilla extract. Then, add a few drops of red food coloring to give your fudge that eerie vampire hue. Mix well until the color is evenly distributed.
Step 4: Pour and Decorate
Pour the mixture into your prepared pan, spreading evenly. Before it sets, place white chocolate chips, candy eyes, or tiny candies to create vampire teeth or creepy eyes. Use black and red sprinkles for extra spooky flair.
Step 5: Chill and Set
Refrigerate the fudge for at least 2 hours or until firm. For quicker chilling, consider using a Ninja SLUSHi Pro RapidChill Drink Maker to speed up the cooling process!
Step 6: Cut and Serve
Once fully set, cut the fudge into squares or spooky shapes. Serve on a platter with Halloween-themed decorations for a fun presentation.
4. Storage Tips for Your Vampire Fudge
Store leftover vampire fudge in an airtight container in the refrigerator. It stays fresh for up to a week, making it perfect for make-ahead treats or party leftovers. For longer storage, wrap individual pieces in plastic wrap and freeze.
5. Serving Suggestions and Presentation Ideas
This Halloween dessert is perfect on its own or can be creatively paired with:
- Spooky Halloween cookies
- Colorful candy corn for a festive touch
- Mini cupcakes decorated with spider webs or bats
Display your vampire fudge on themed plates or cake stands, adding cute Halloween toppers or edible glitter for extra spookiness.
6. Frequently Asked Questions about the Vampire Fudge Recipe
Can I make this fudge vegan or dairy-free?
Yes! Swap the chocolate chips and condensed milk with dairy-free alternatives like coconut condensed milk and dark chocolate or vegan chocolate chips.
How long does the fudge take to prepare?
The total preparation and chilling time is about 2 to 3 hours, making it perfect for last-minute Halloween treats.
Can I add other candies or decorations?
Absolutely! Feel free to let your creativity run wild by adding gummy worms, spider candies, or edible glitter for an even more festive look.
7. Kitchen tools that you might need for this recipe
- CAROTE Premium 16pc Nonstick Cookware Set — Makes melting and mixing your chocolate smooth and mess-free, giving you the perfect texture every time.
- Ninja SLUSHi Pro RapidChill Drink Maker — Speed up chilling your fudge for quick results during busy Halloween preparations.
- Ninja Air Fryer Pro Crisp & Roast 4-in-1 — Use it to create fun Halloween treats or toasted toppings for your dessert table.
Investing in these tools will make your cooking easier and more enjoyable, transforming simple ingredients into a spooky masterpiece!
8. Conclusion
With this Vampire Fudge recipe, you can easily create a spooky fudge that is both festive and delicious. Its no-bake nature makes it perfect for busy weeknights or last-minute Halloween parties. Impress your guests with this Halloween dessert that’s as fun to make as it is to eat. Enjoy the process and gobble up your creepy, sweet creation!
Print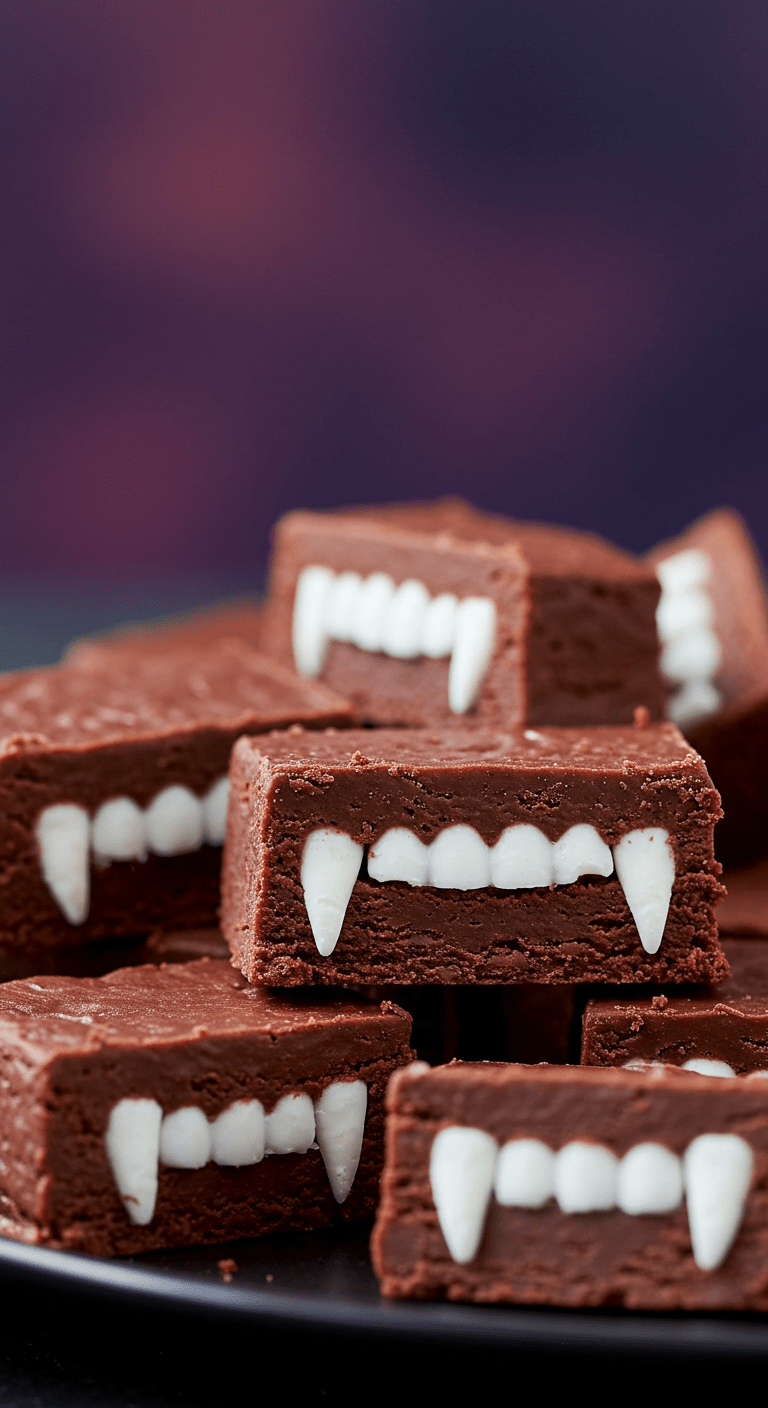
Spooky & Sweet Vampire Fudge: Easy No-Bake Treat!
Spooky & Sweet Vampire Fudge is a fun, easy, no-bake Halloween treat that combines creamy chocolate with festive decorations. Perfect for parties, it’s a rich, spooky dessert that impresses guests with its creepy appearance and delightful taste. Easily customizable with vampire teeth, eyes, and colored sprinkles, this fudge is a must-try for any Halloween celebration.
- Total Time: 2 hours 15 minutes
- Yield: 12 servings
Ingredients
- 2 cups of semi-sweet chocolate chips
- 1 cup sweetened condensed milk
- 1 teaspoon vanilla extract
- Red food coloring (for that spooky vampire effect)
- White chocolate chips (for vampire teeth or eyes)
- Black and red sprinkles (optional, for decoration)
- Candy eyes or small candies for vampire effects
Instructions
- Line a baking dish with parchment paper to prevent sticking.
- Combine semi-sweet chocolate chips and sweetened condensed milk in a microwave-safe bowl. Microwave in 30-second intervals, stirring until smooth.
- Stir in vanilla extract, then add a few drops of red food coloring until the desired spooky hue is achieved.
- Pour mixture into the prepared pan and spread evenly.
- Add white chocolate chips, candy eyes, or tiny candies to create vampire teeth or eyes. Decorate with black and red sprinkles as desired.
- Refrigerate for at least 2 hours until firm.
- Once set, cut into squares or spooky shapes and serve.
Notes
- Make sure to line the pan thoroughly for easy removal.
- You can customize decorations with different candies or edible glitter.
- For faster setting, chill in an ice bath or use a rapid-chill device.
- Store leftovers in an airtight container in the refrigerator for up to a week.
- Prep Time: 15 minutes
- Cook Time: 0 minutes
- Category: Dessert
- Method: No-bake
- Cuisine: American
- Diet: Vegetarian
Nutrition
- Serving Size: 1 piece (about 1.5 inches square)
- Calories: 150 Kcal
- Sugar: 15g
- Sodium: 30mg
- Fat: 8g
- Saturated Fat: 5g
- Unsaturated Fat: 3g
- Trans Fat: 0g
- Carbohydrates: 20g
- Fiber: 1g
- Protein: 2g
- Cholesterol: 10mg

[…] Spooky & Sweet Vampire Fudge: Easy No-Bake Treat! […]